How to apply a wildcard SSL license from letsencrypt via DNS chanllenge
Why use DNS challenge instead of HTTP challenge?
I deployed this blog use geo-ip based DNS, which leads to the ip the letsencrypt get does not match to the server which is applying for SSL license. So I learned how to get SSL license via DNS challenge.
Why need wildcard SSL license?
Another advantage using DNS challenge to apply SSL license is that we can apply for a wildcard SSL license. Wildcard SSL license can be used in root domain and all first-level subdomains, which is more convenient and easier to manage.
How to do it?
AWS Route 53
Install certbot following official instructions
Before, I just used certbot from OS packages. Now I know that the appropriate way to install it is from pip in order to get the latest version. In my case I use AWS route 53 as DNS provider. If you use another DNS service provider, the process is similar, which you can refer to https://eff-certbot.readthedocs.io/en/latest/using.html#dns-plugins. Now log into your server as root.
1 | sudo apt update |
Config your Route53 API credentials
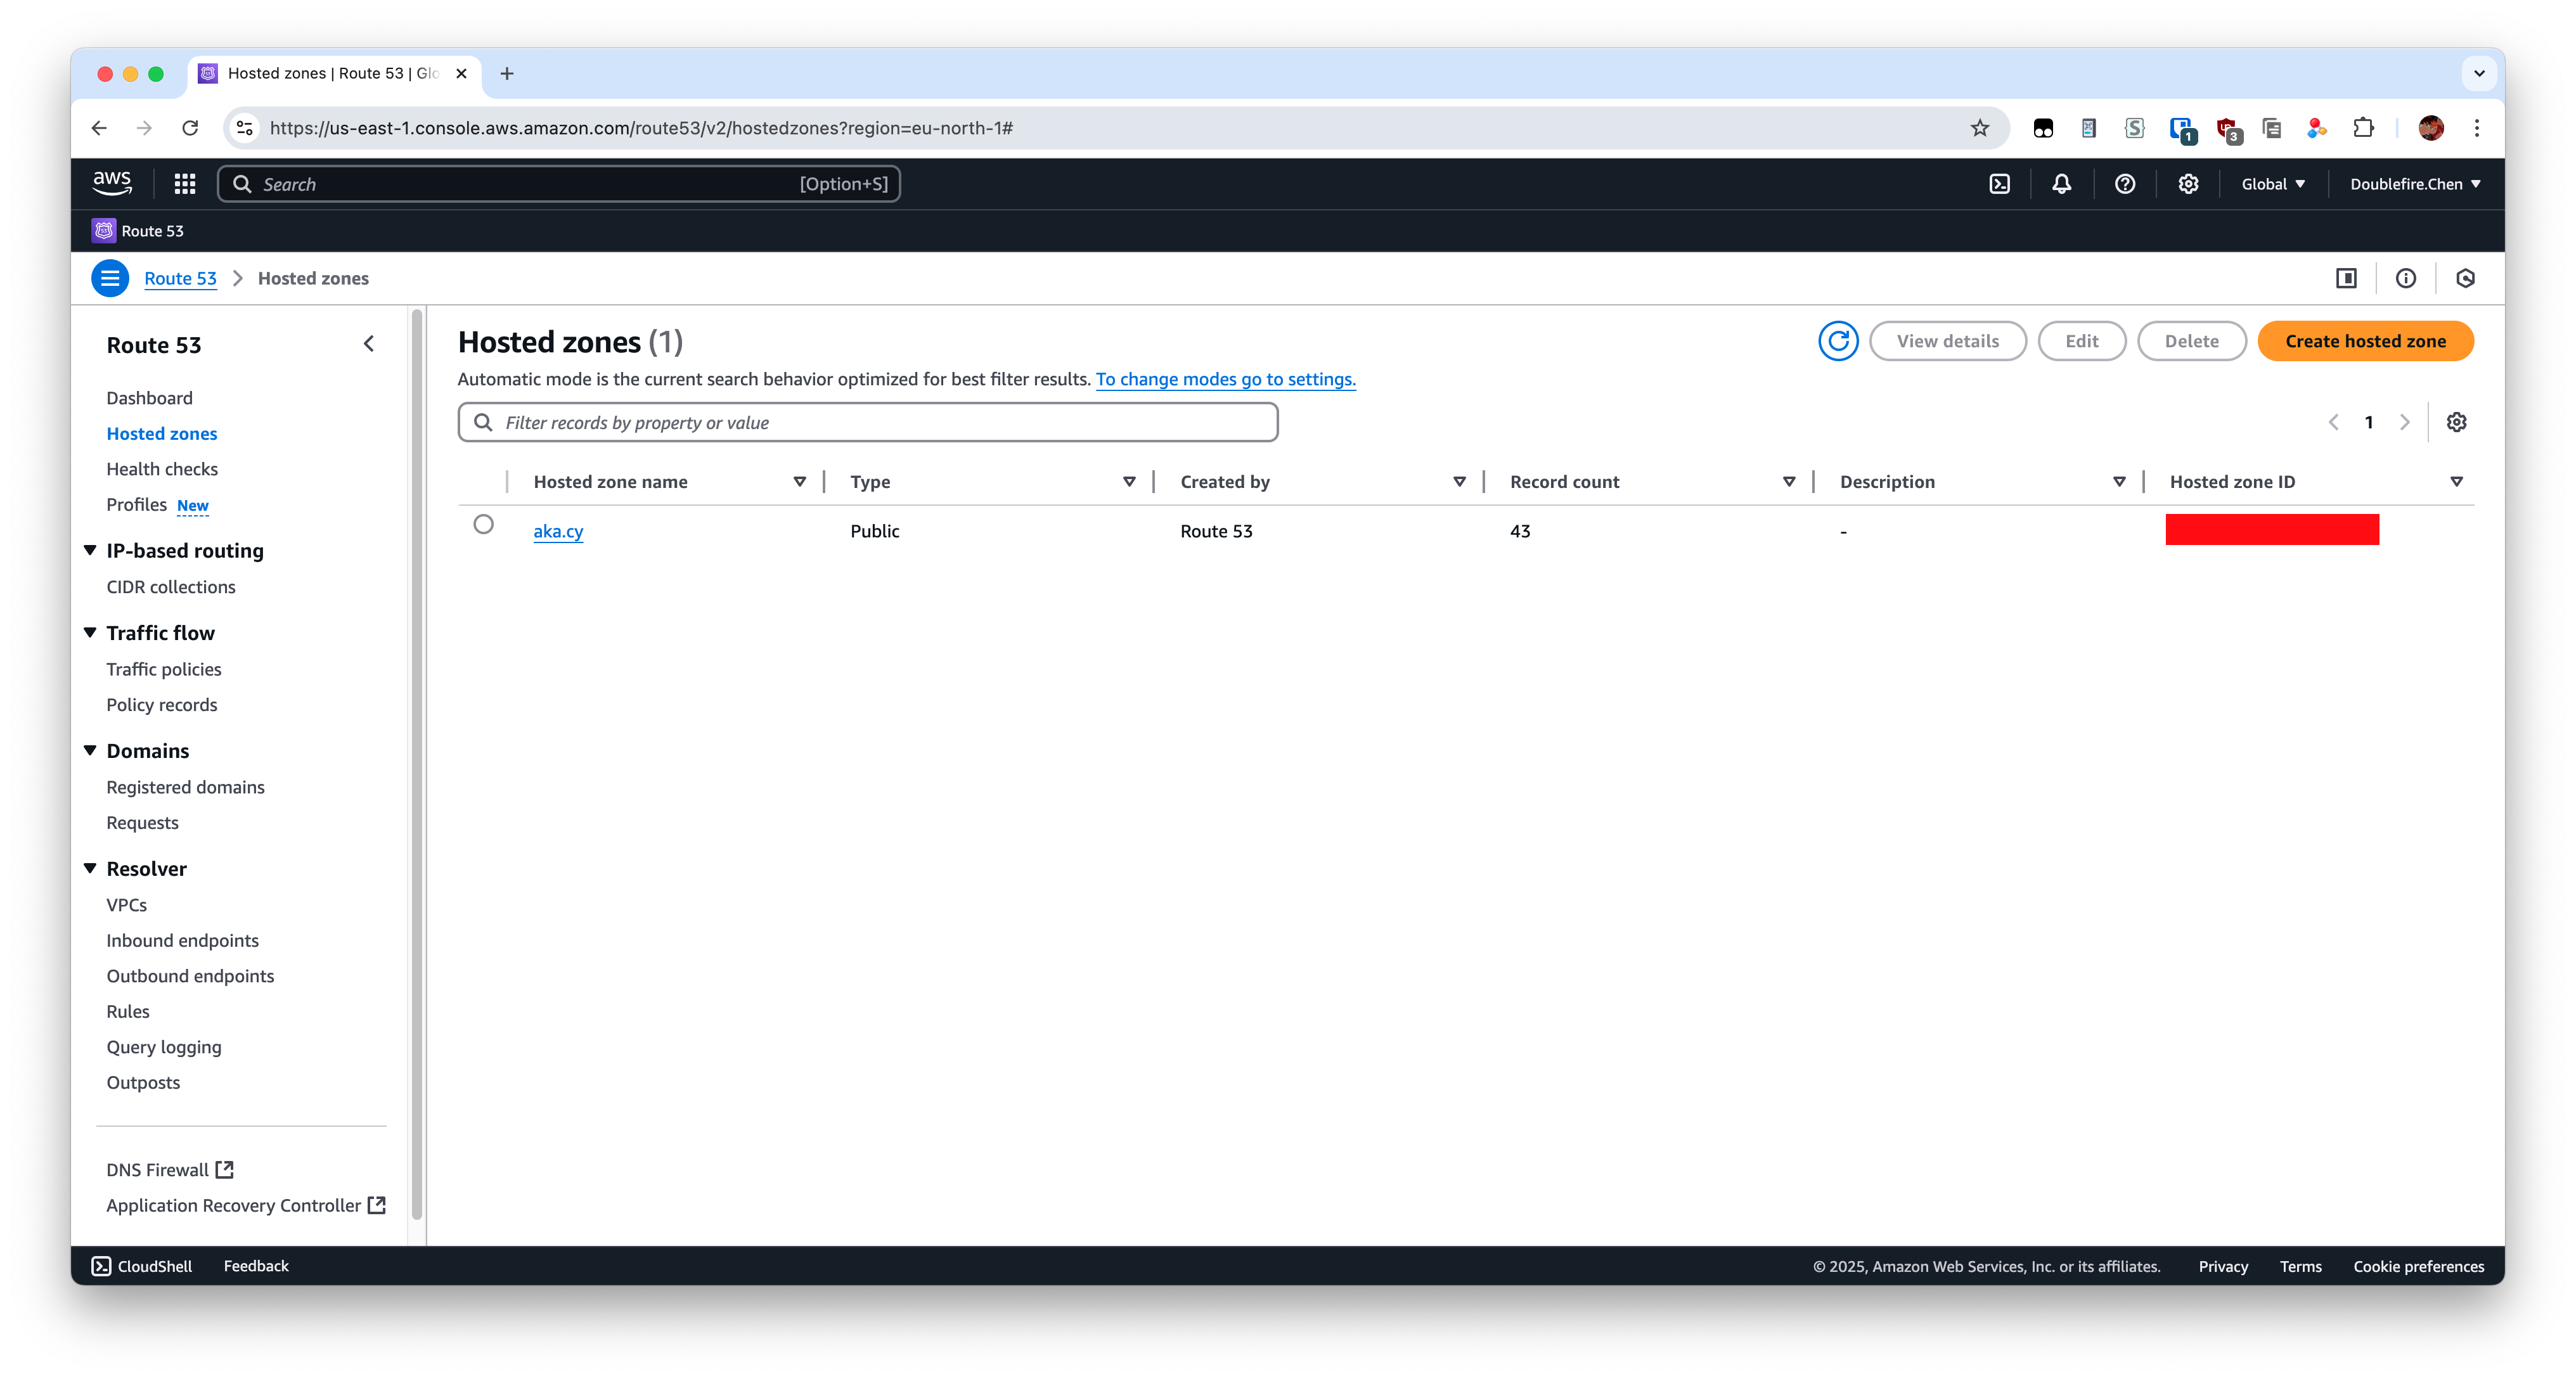
Go to your host zone and record your hosted zone id.
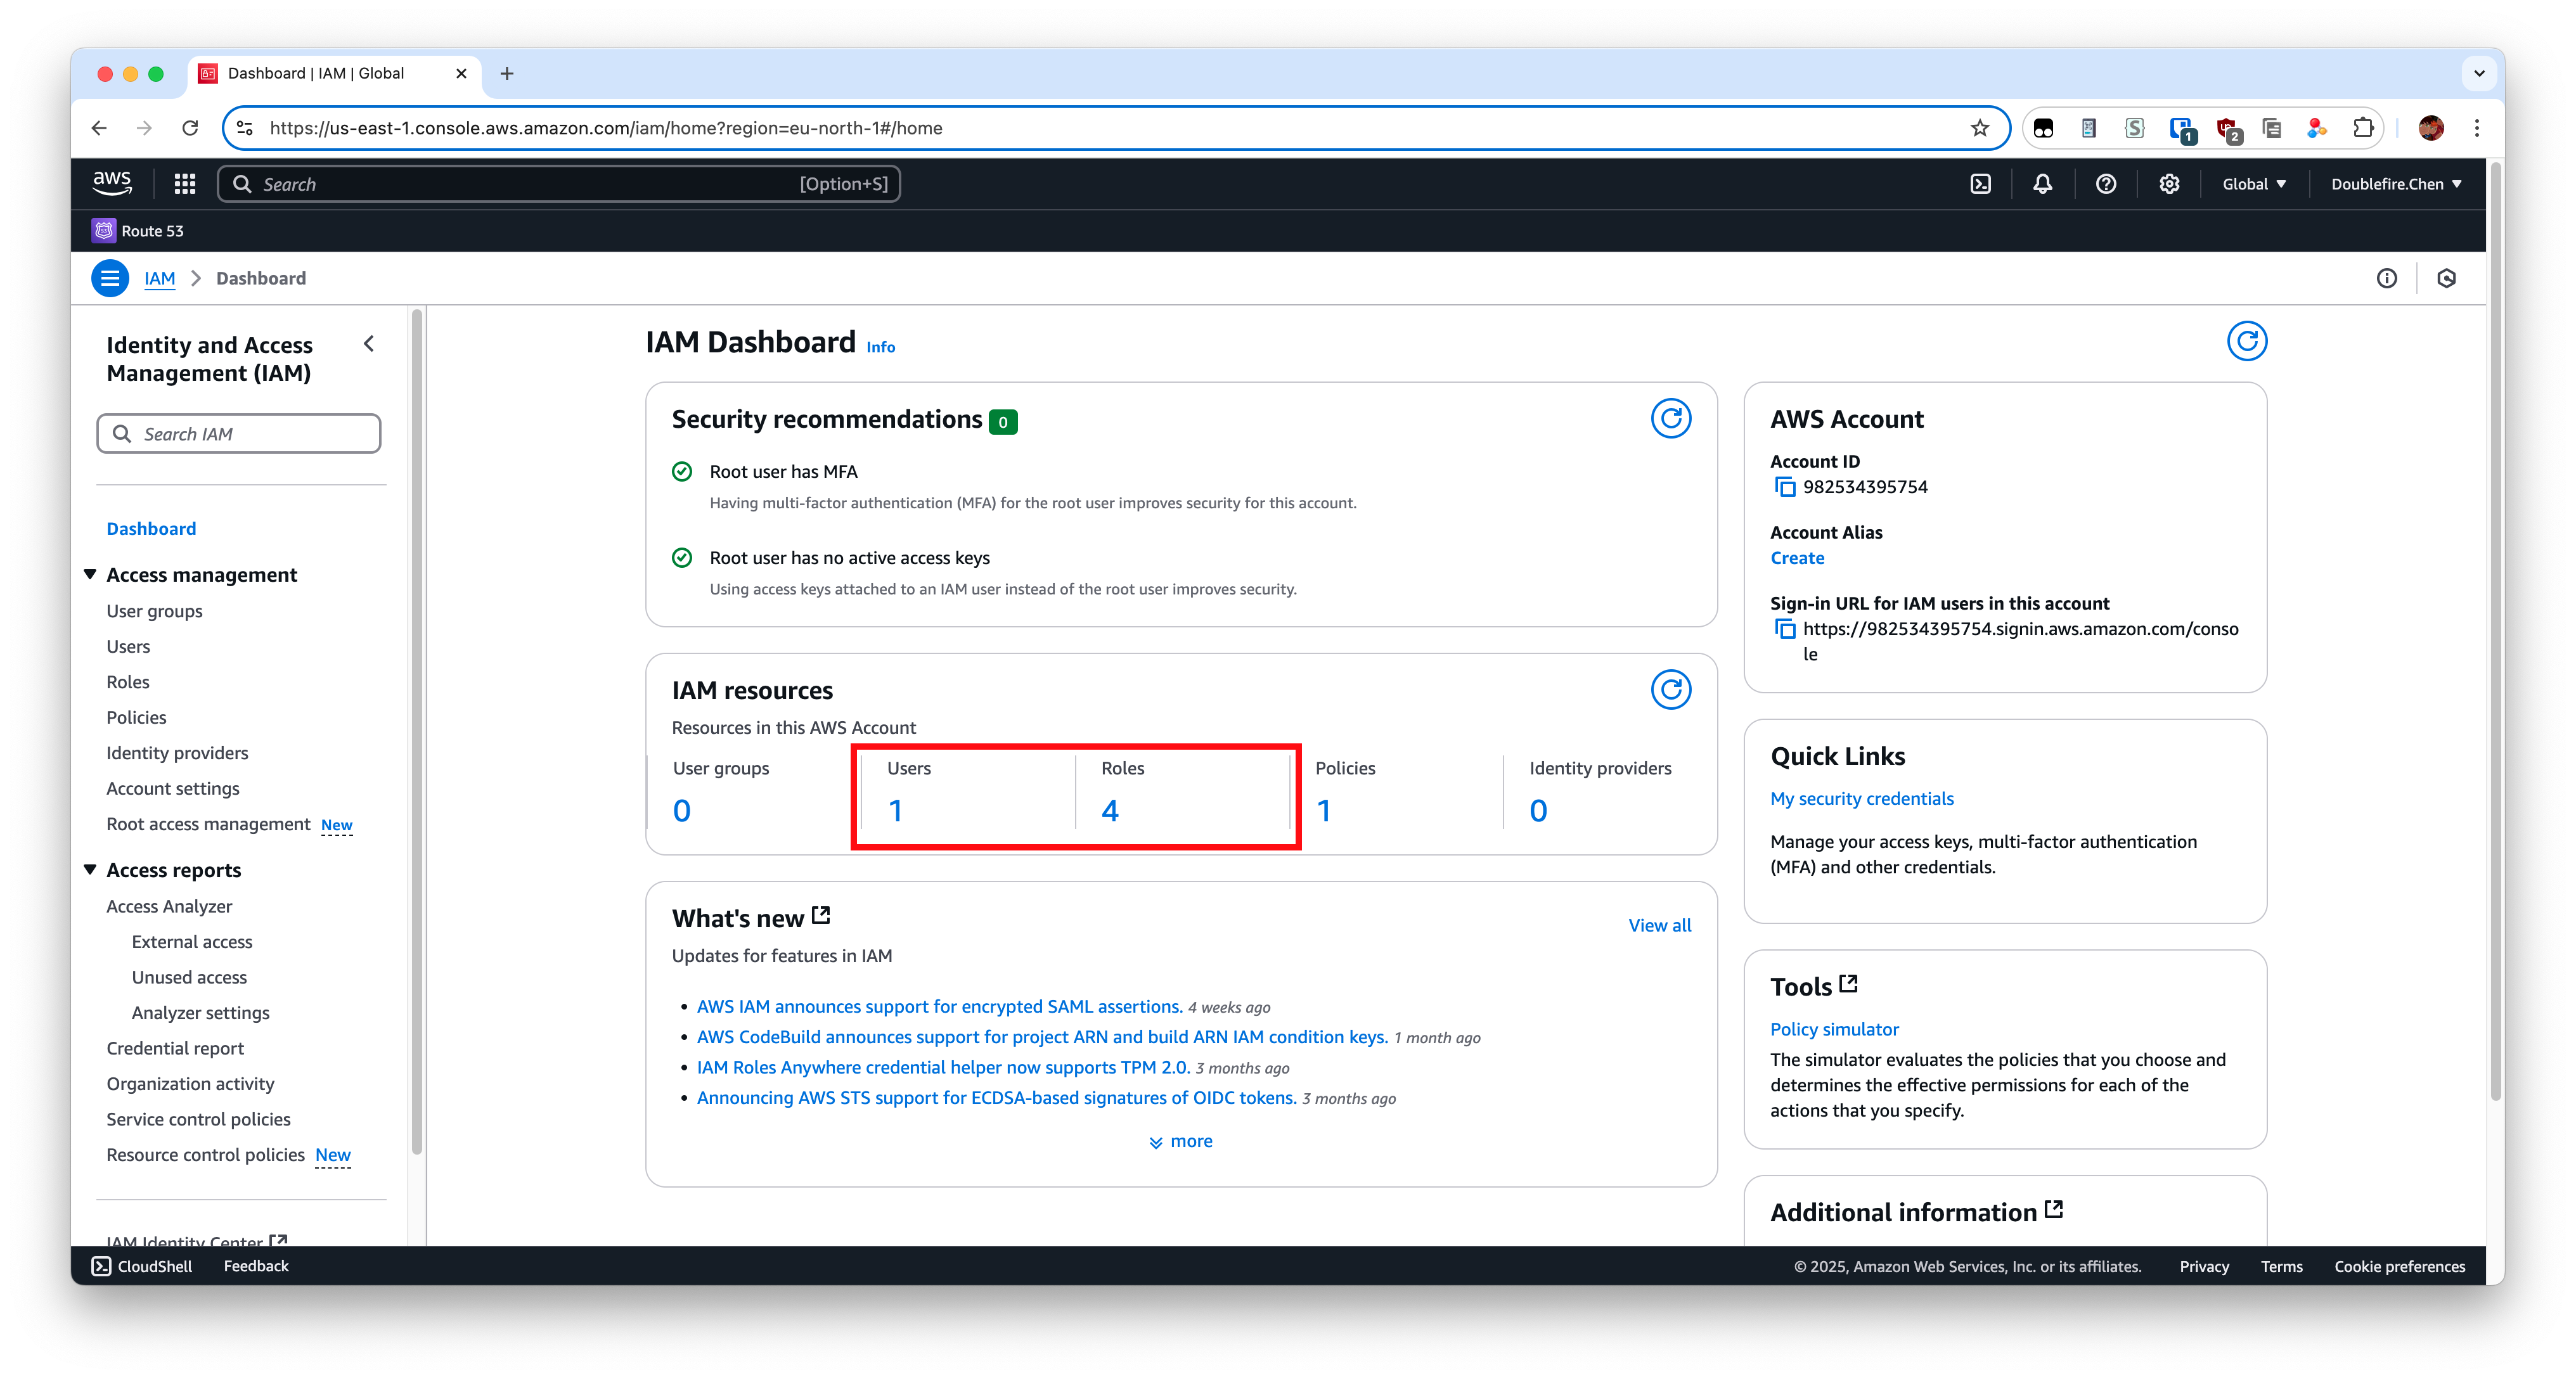
Then go to AWS IAM console to set policies and roles, which can be find in search bar.
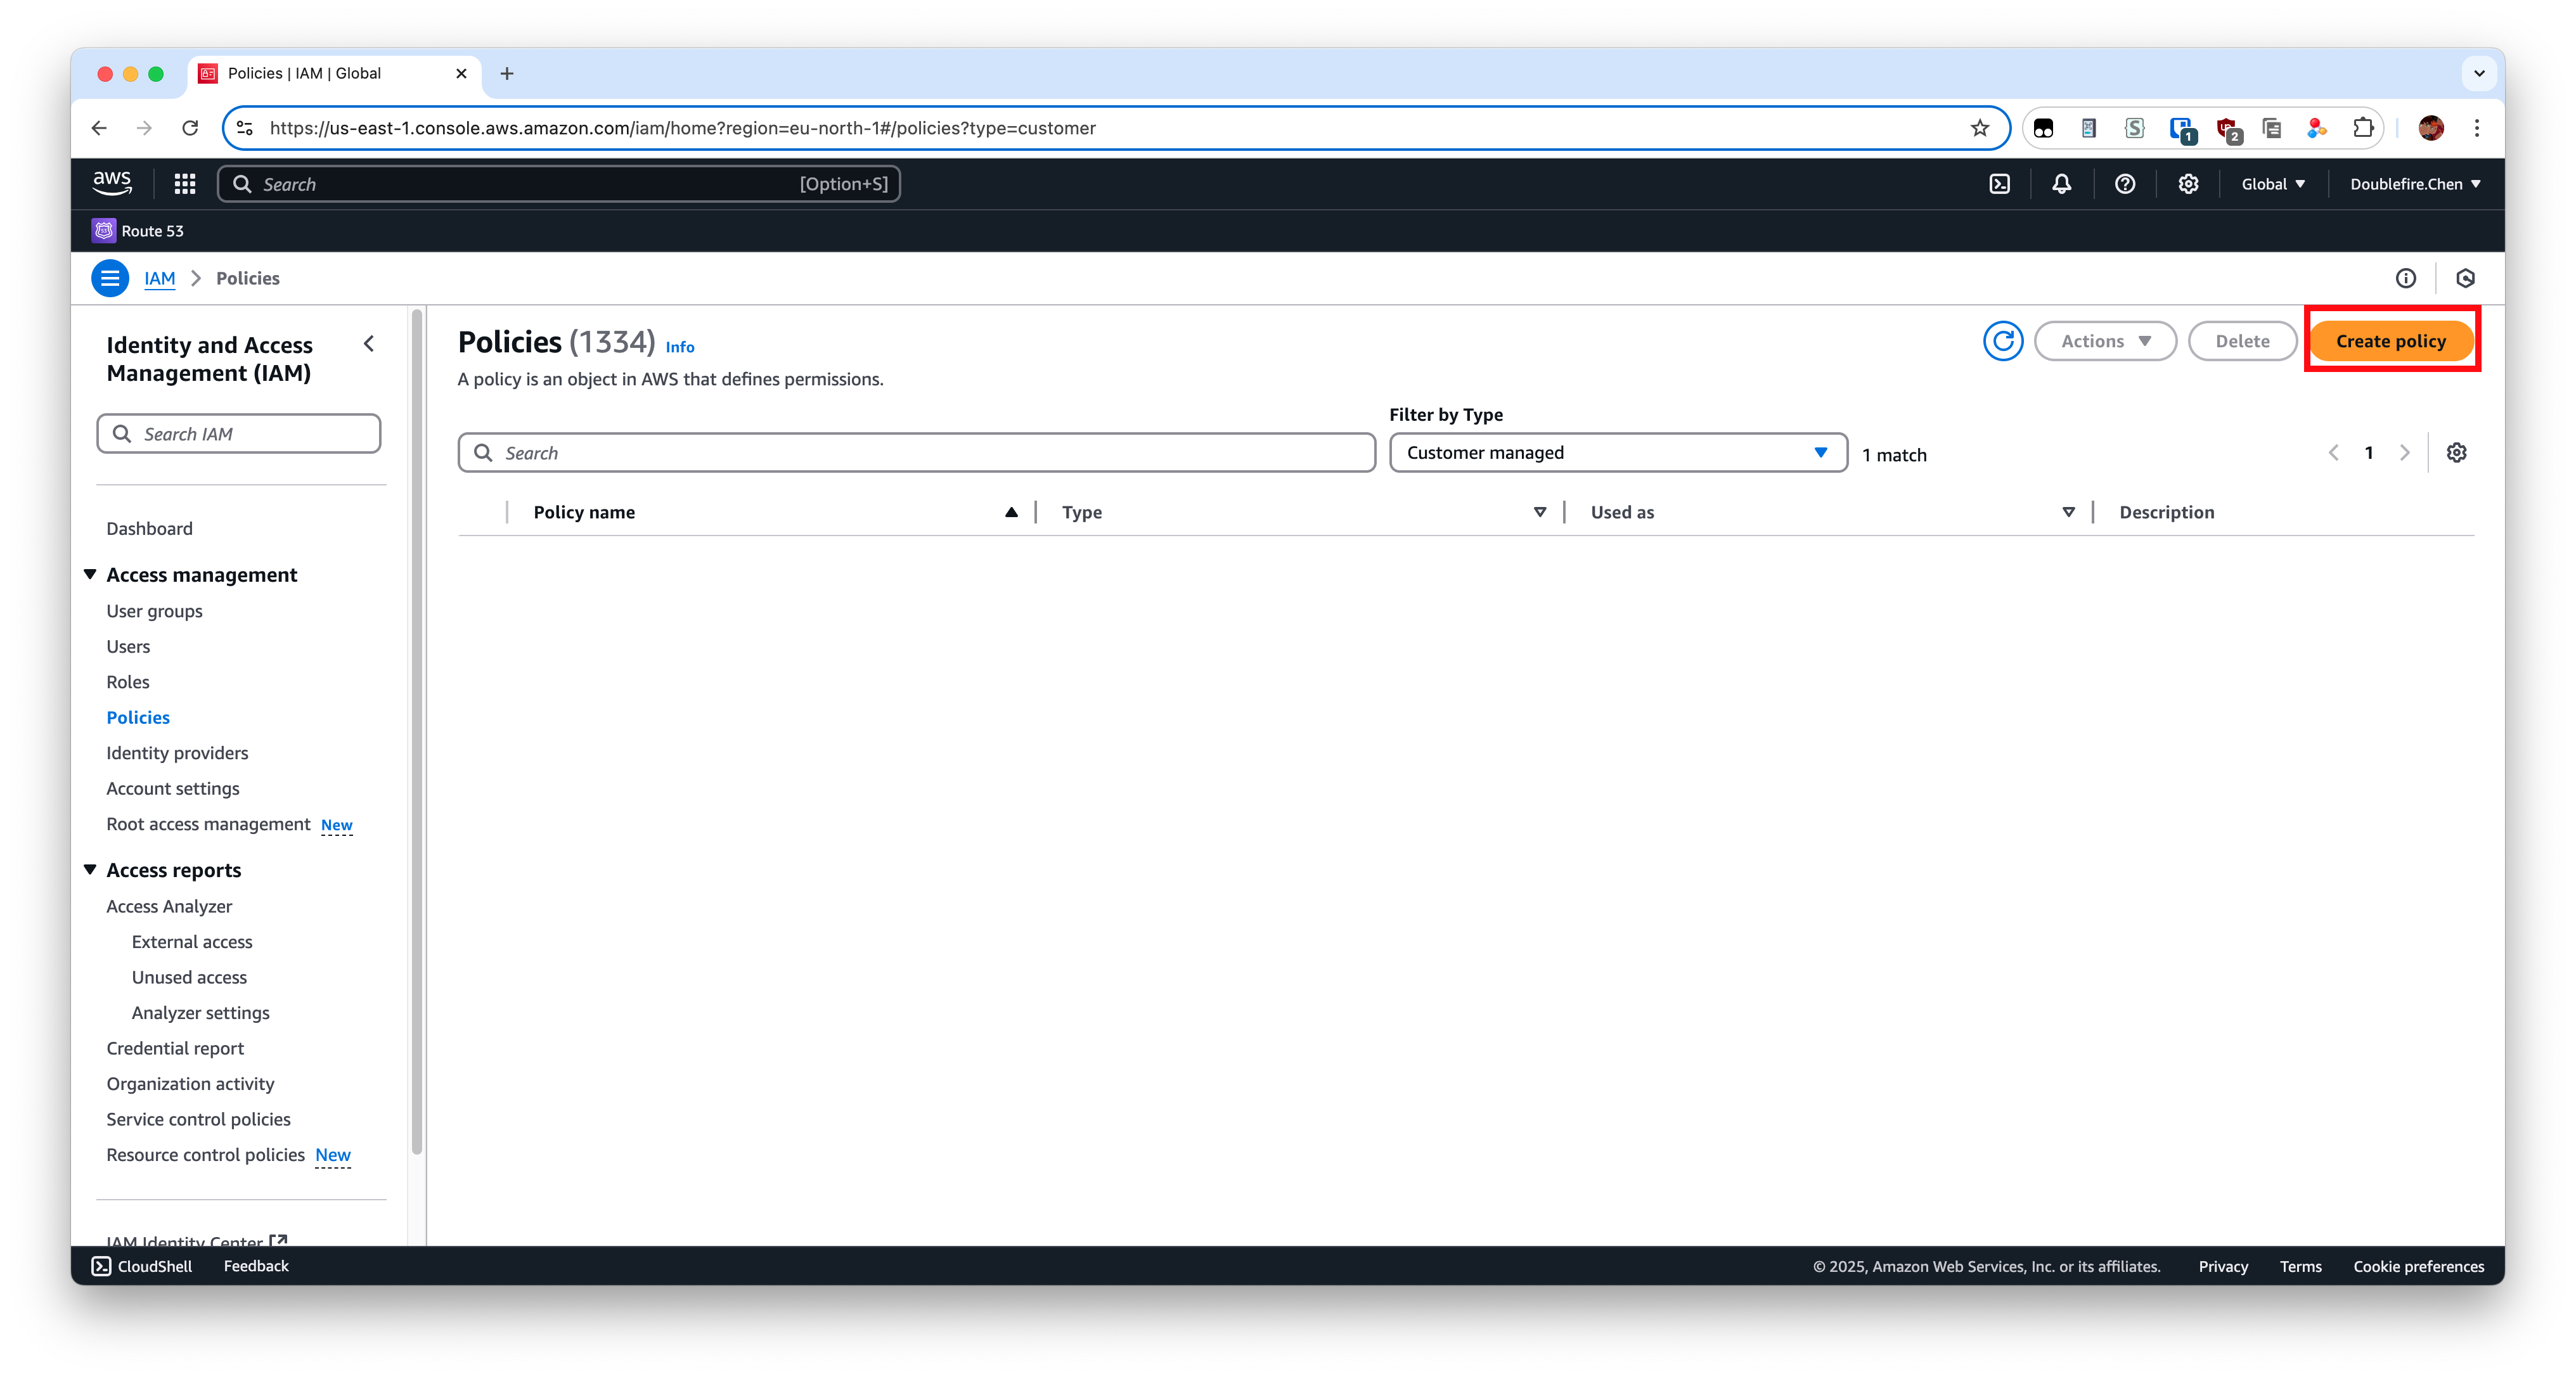
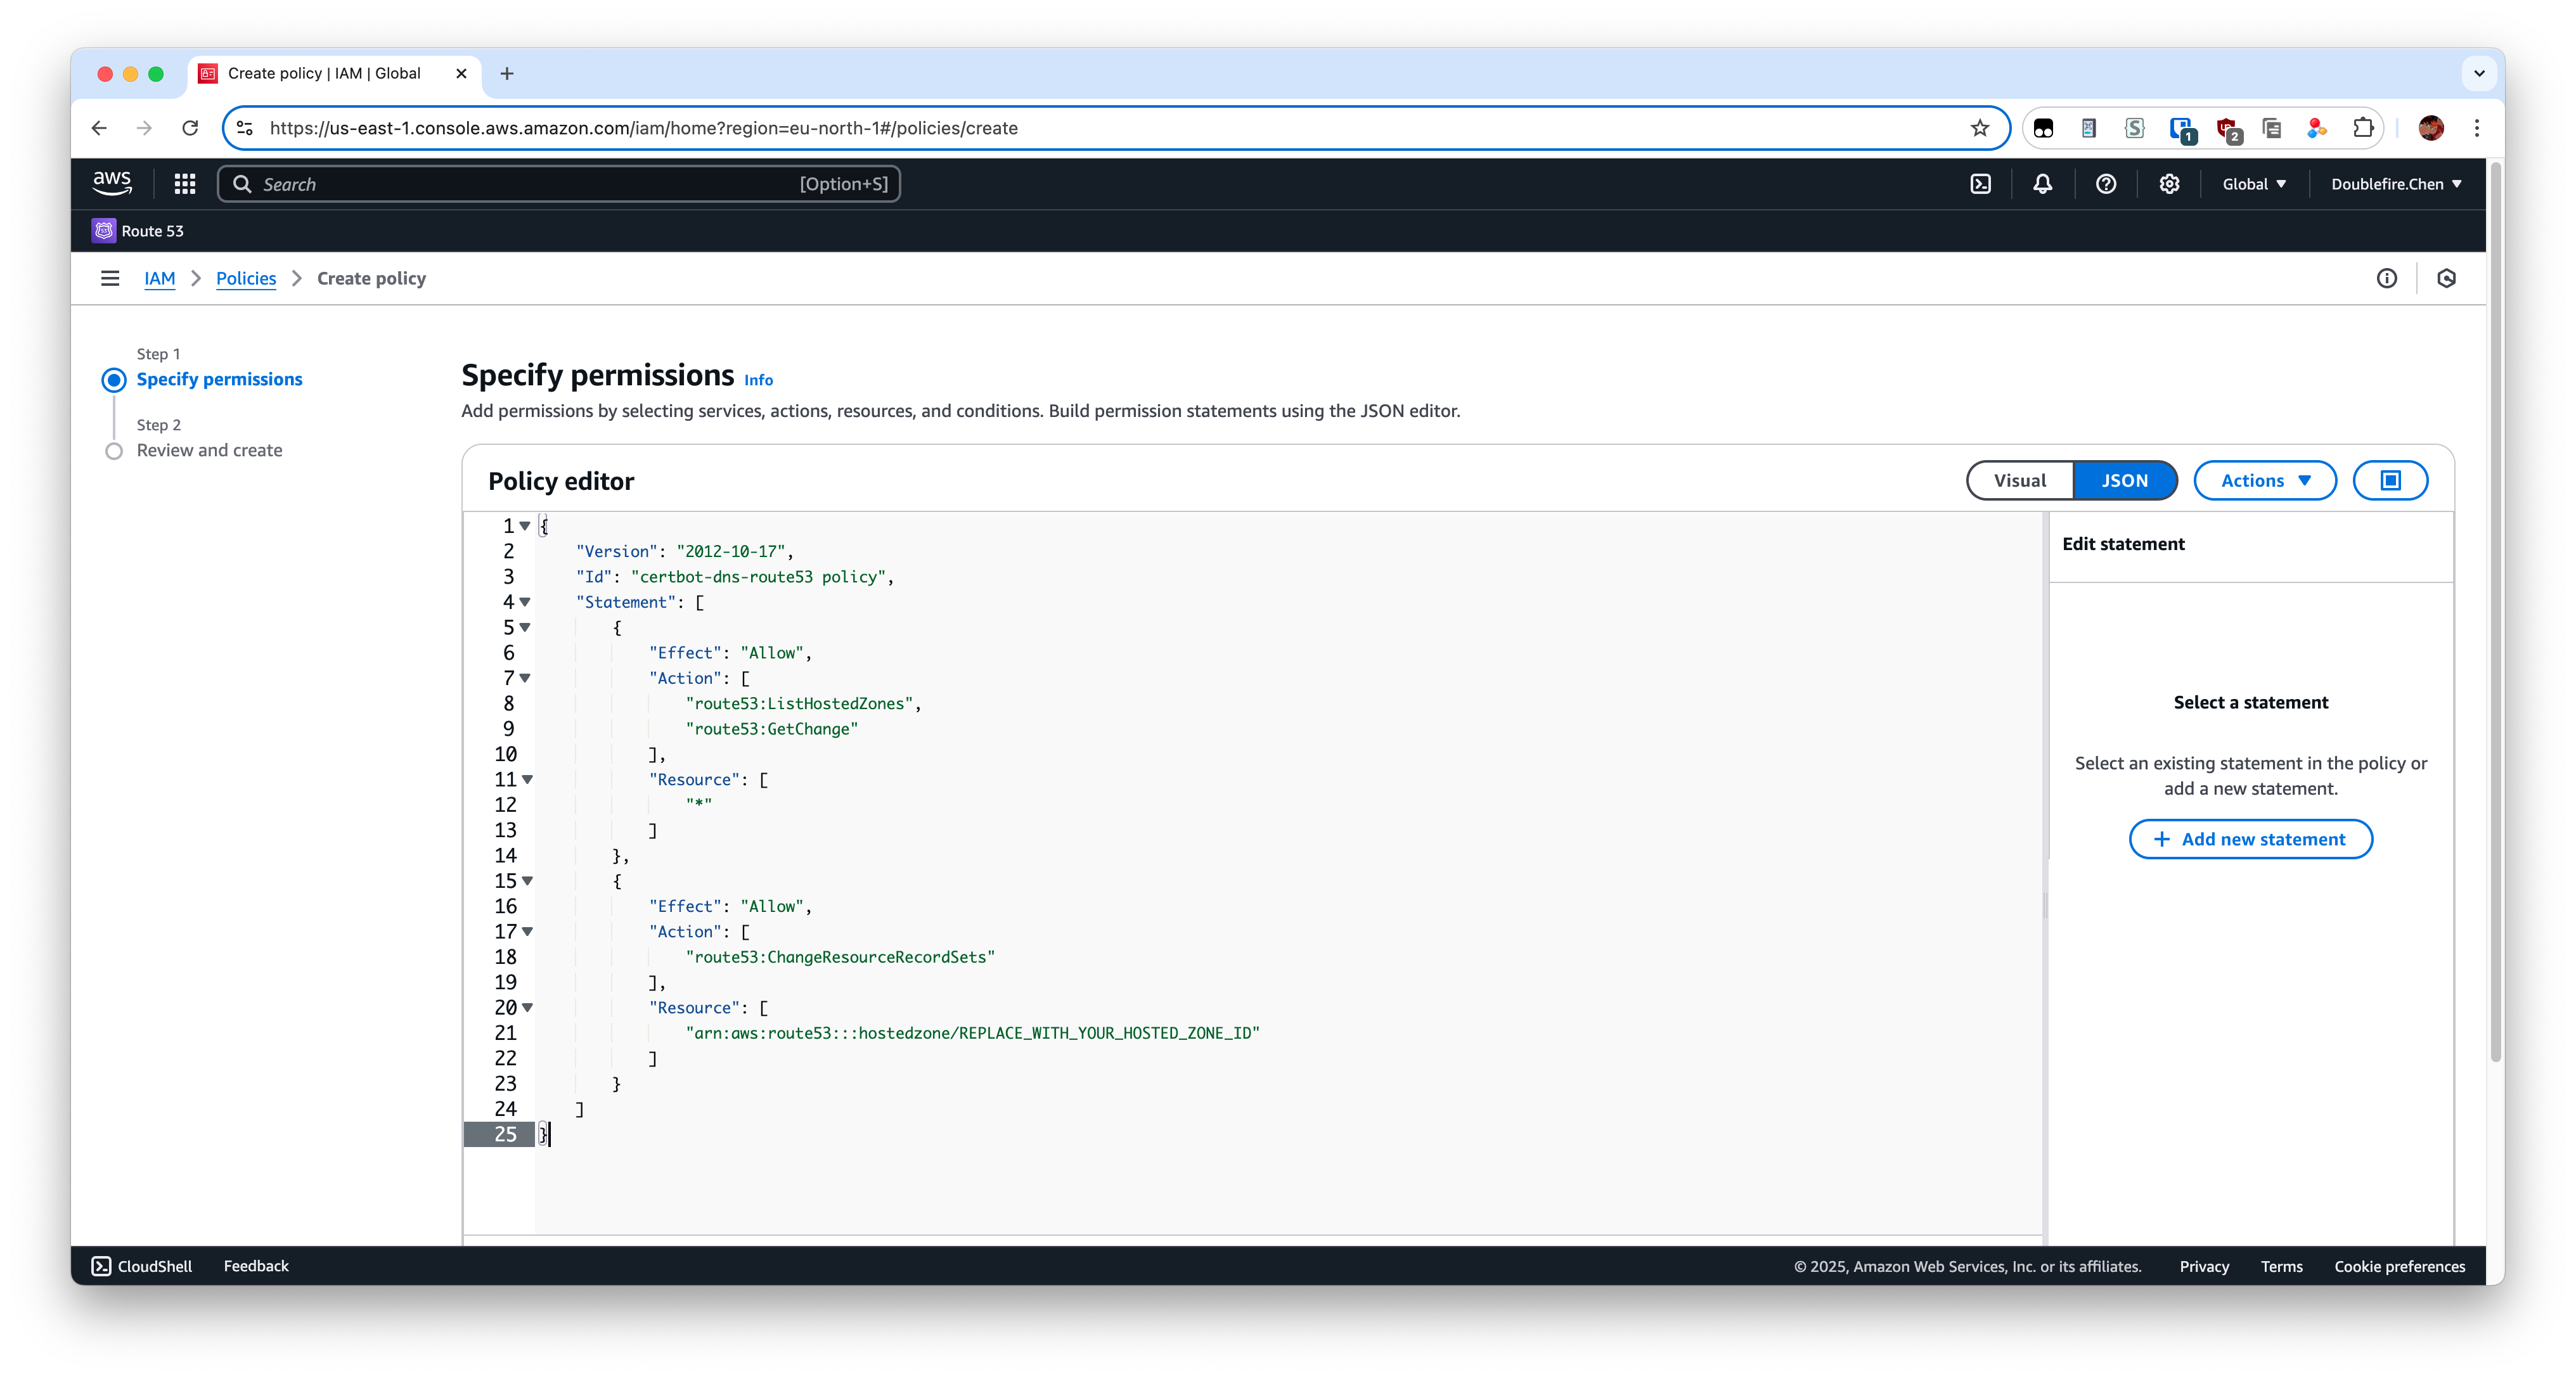
Set policies
1
2
3
4
5
6
7
8
9
10
11
12
13
14
15
16
17
18
19
20
21
22
23
24
25{
"Version": "2012-10-17",
"Id": "certbot-dns-route53 policy",
"Statement": [
{
"Effect": "Allow",
"Action": [
"route53:ListHostedZones",
"route53:GetChange"
],
"Resource": [
"*"
]
},
{
"Effect": "Allow",
"Action": [
"route53:ChangeResourceRecordSets"
],
"Resource": [
"arn:aws:route53:::hostedzone/REPLACE_WITH_YOUR_HOSTED_ZONE_ID"
]
}
]
}Then go to next and input police name and create it.
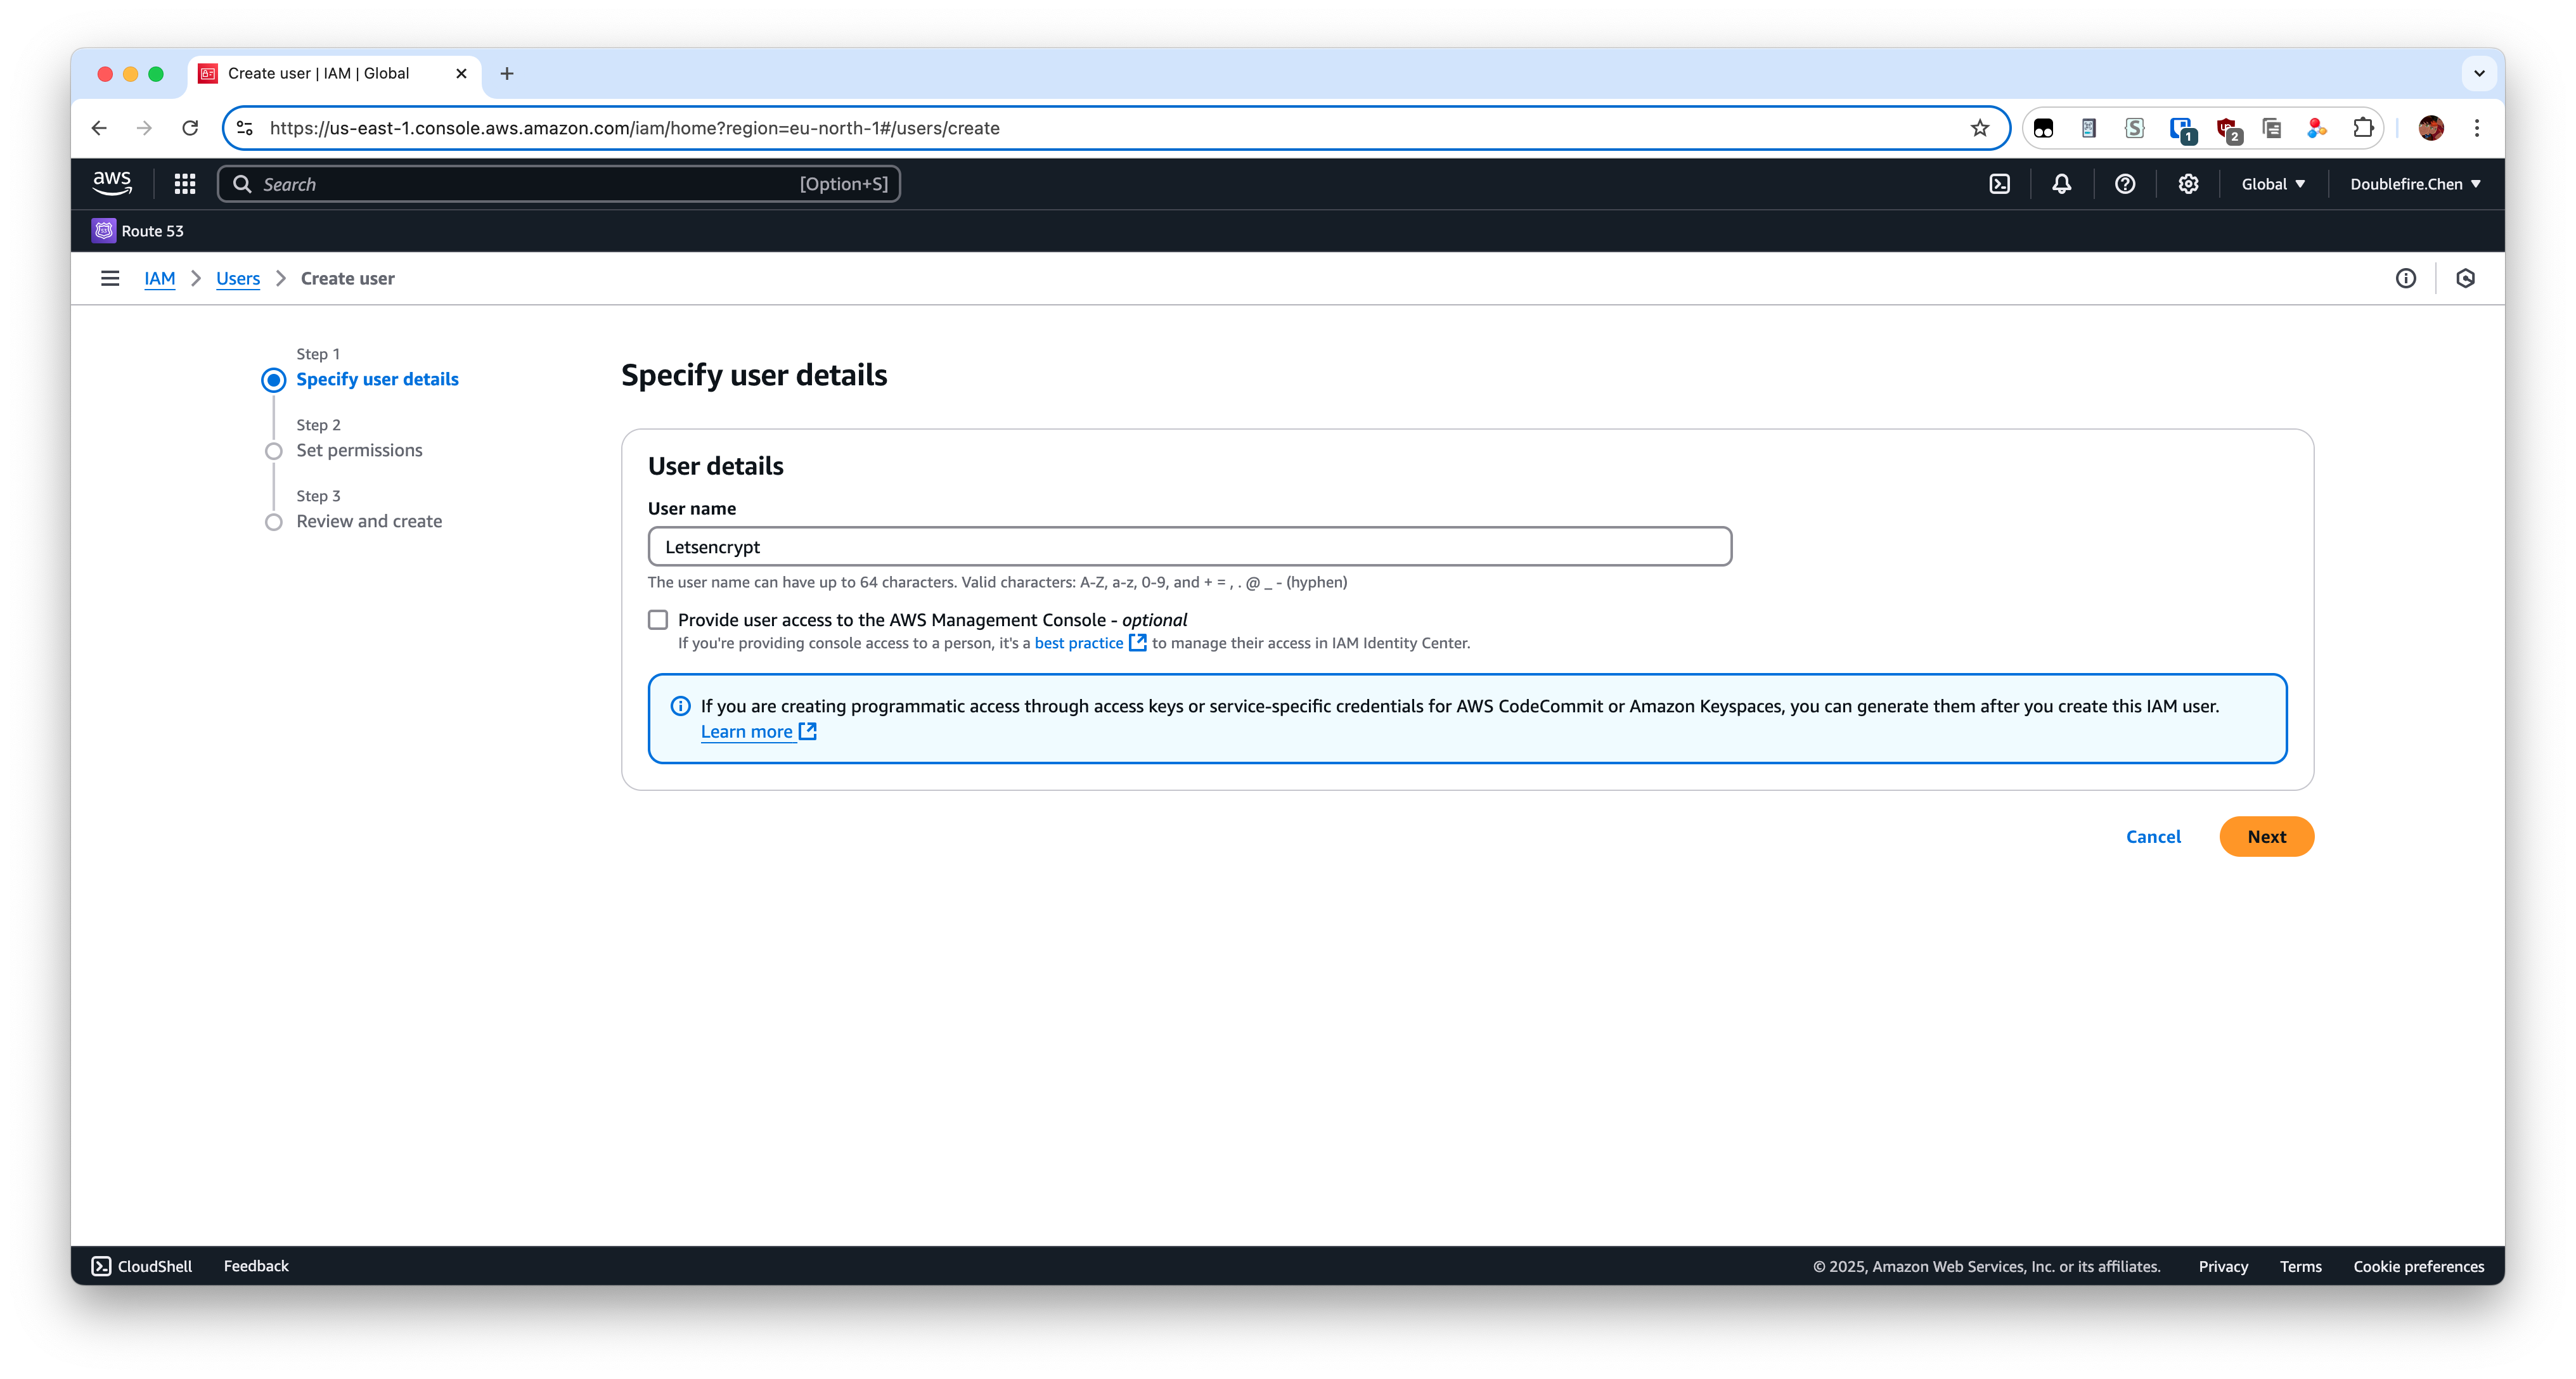
Next, go to user penal and create a new user.

Input the username you like.
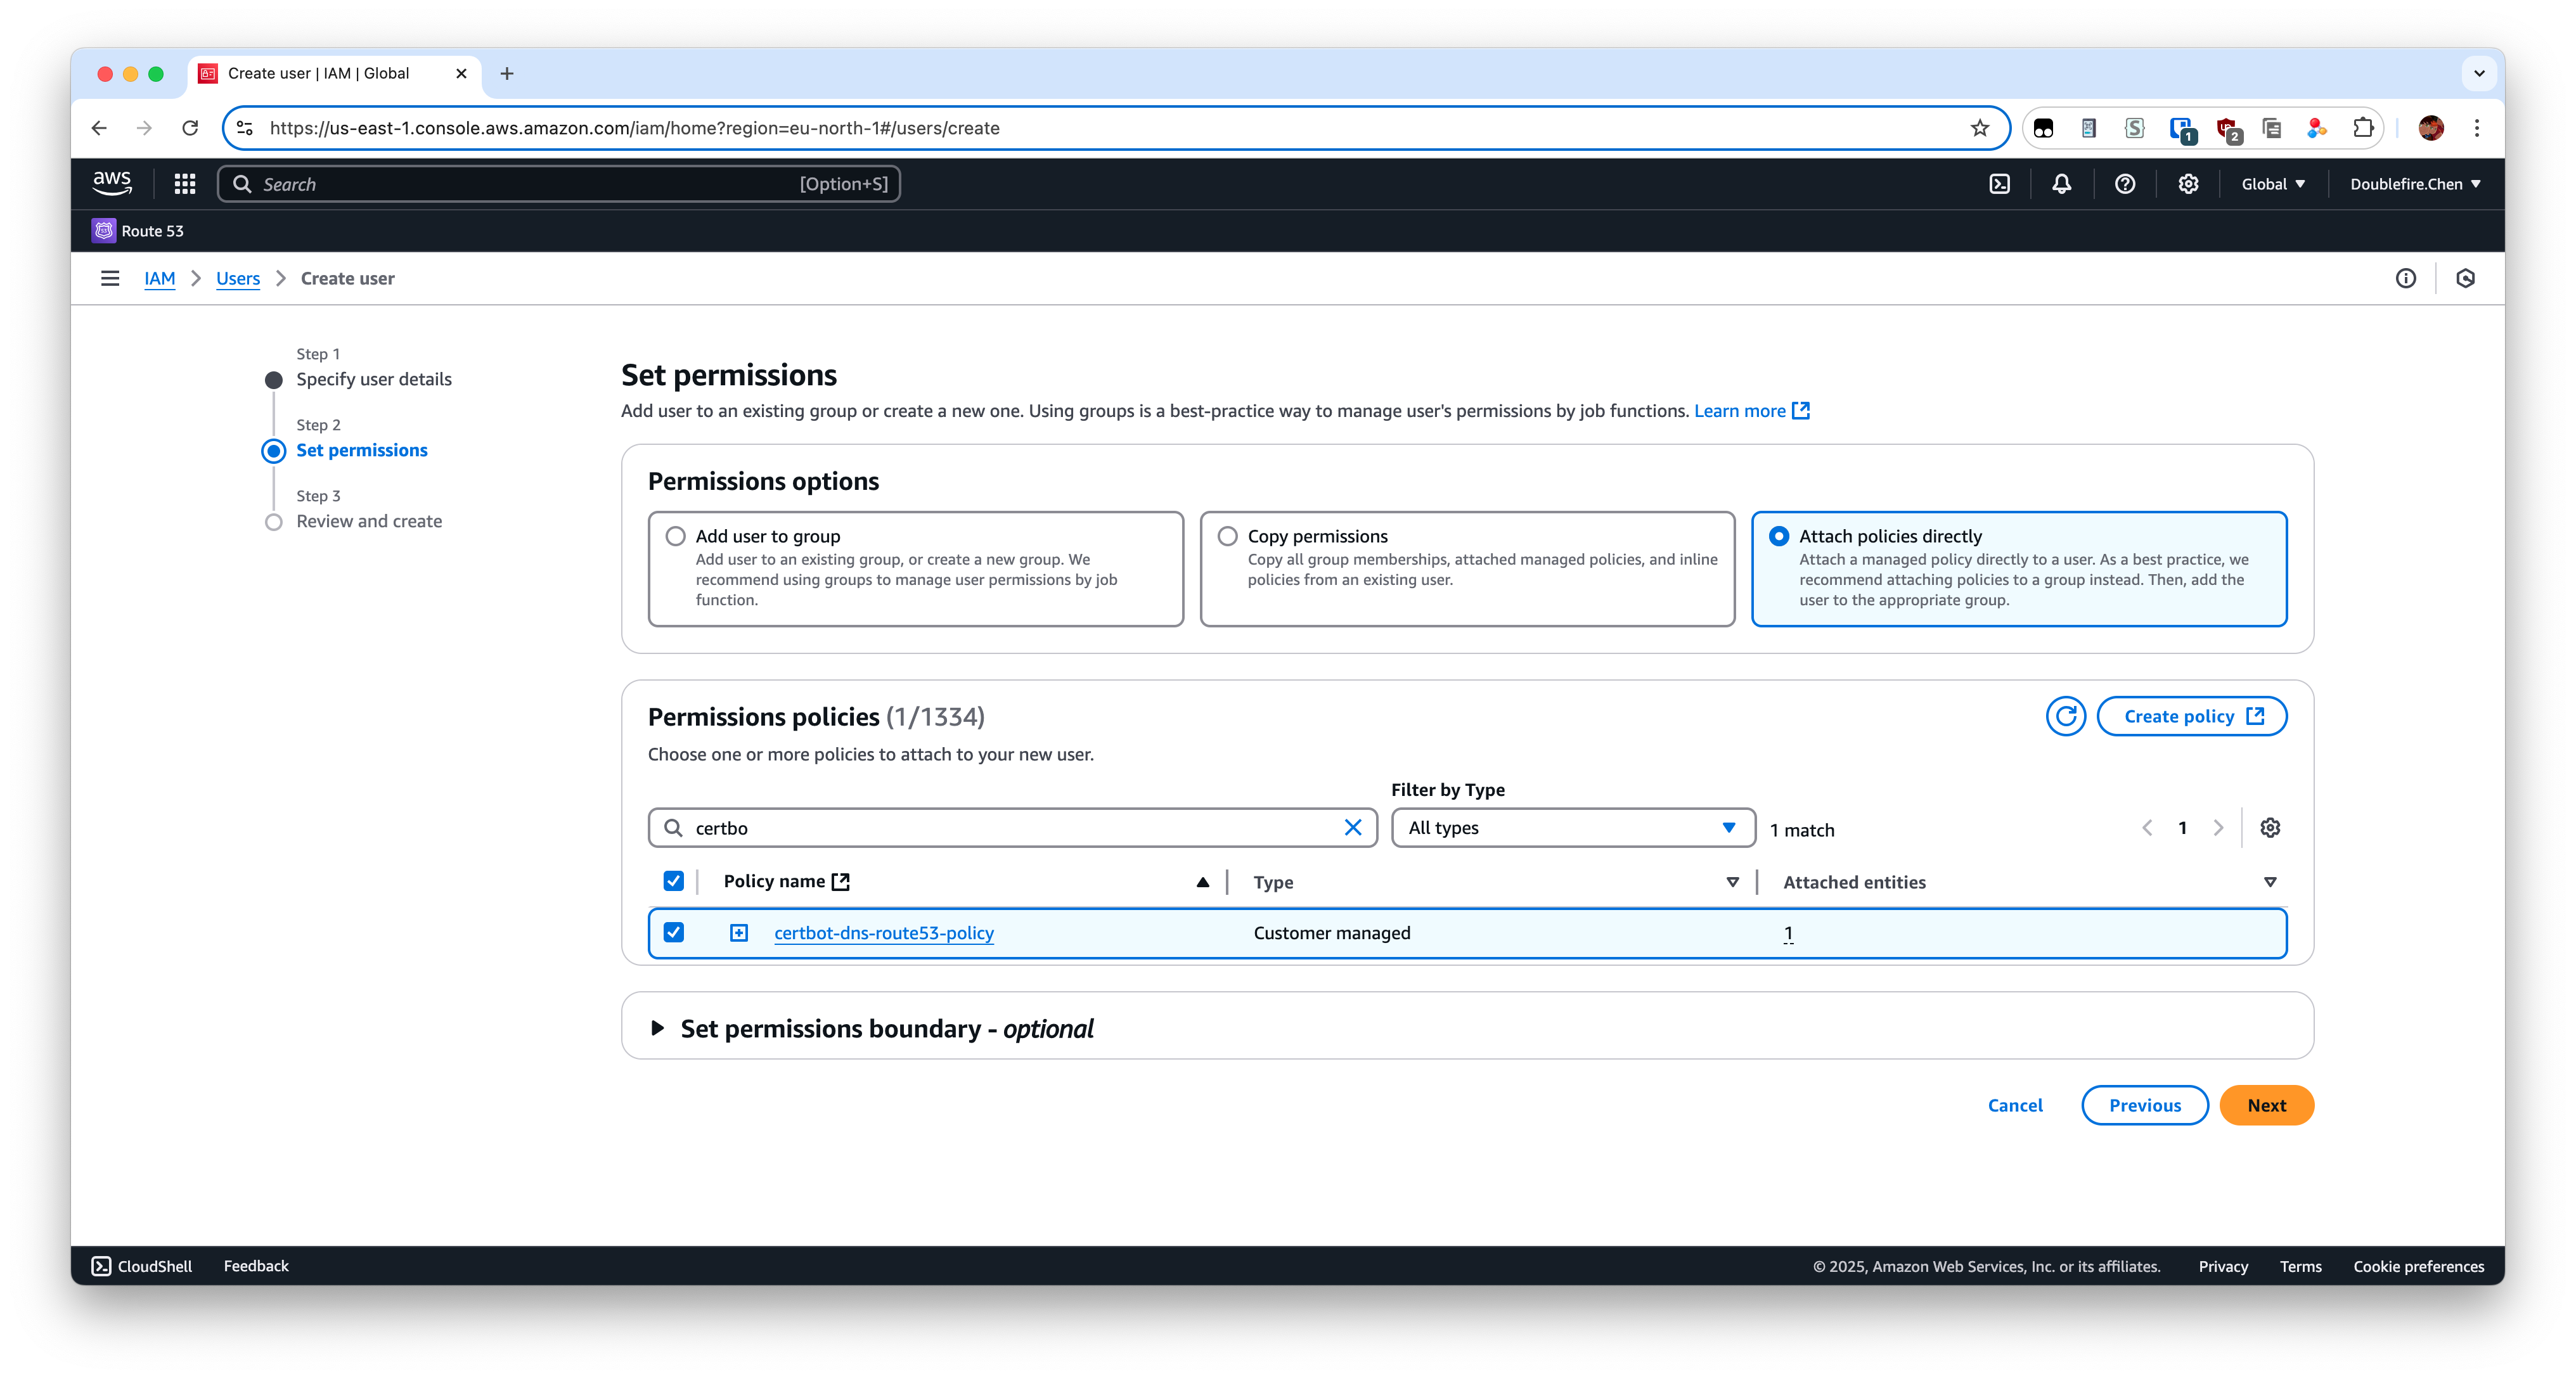
Attach it with policy you create before.
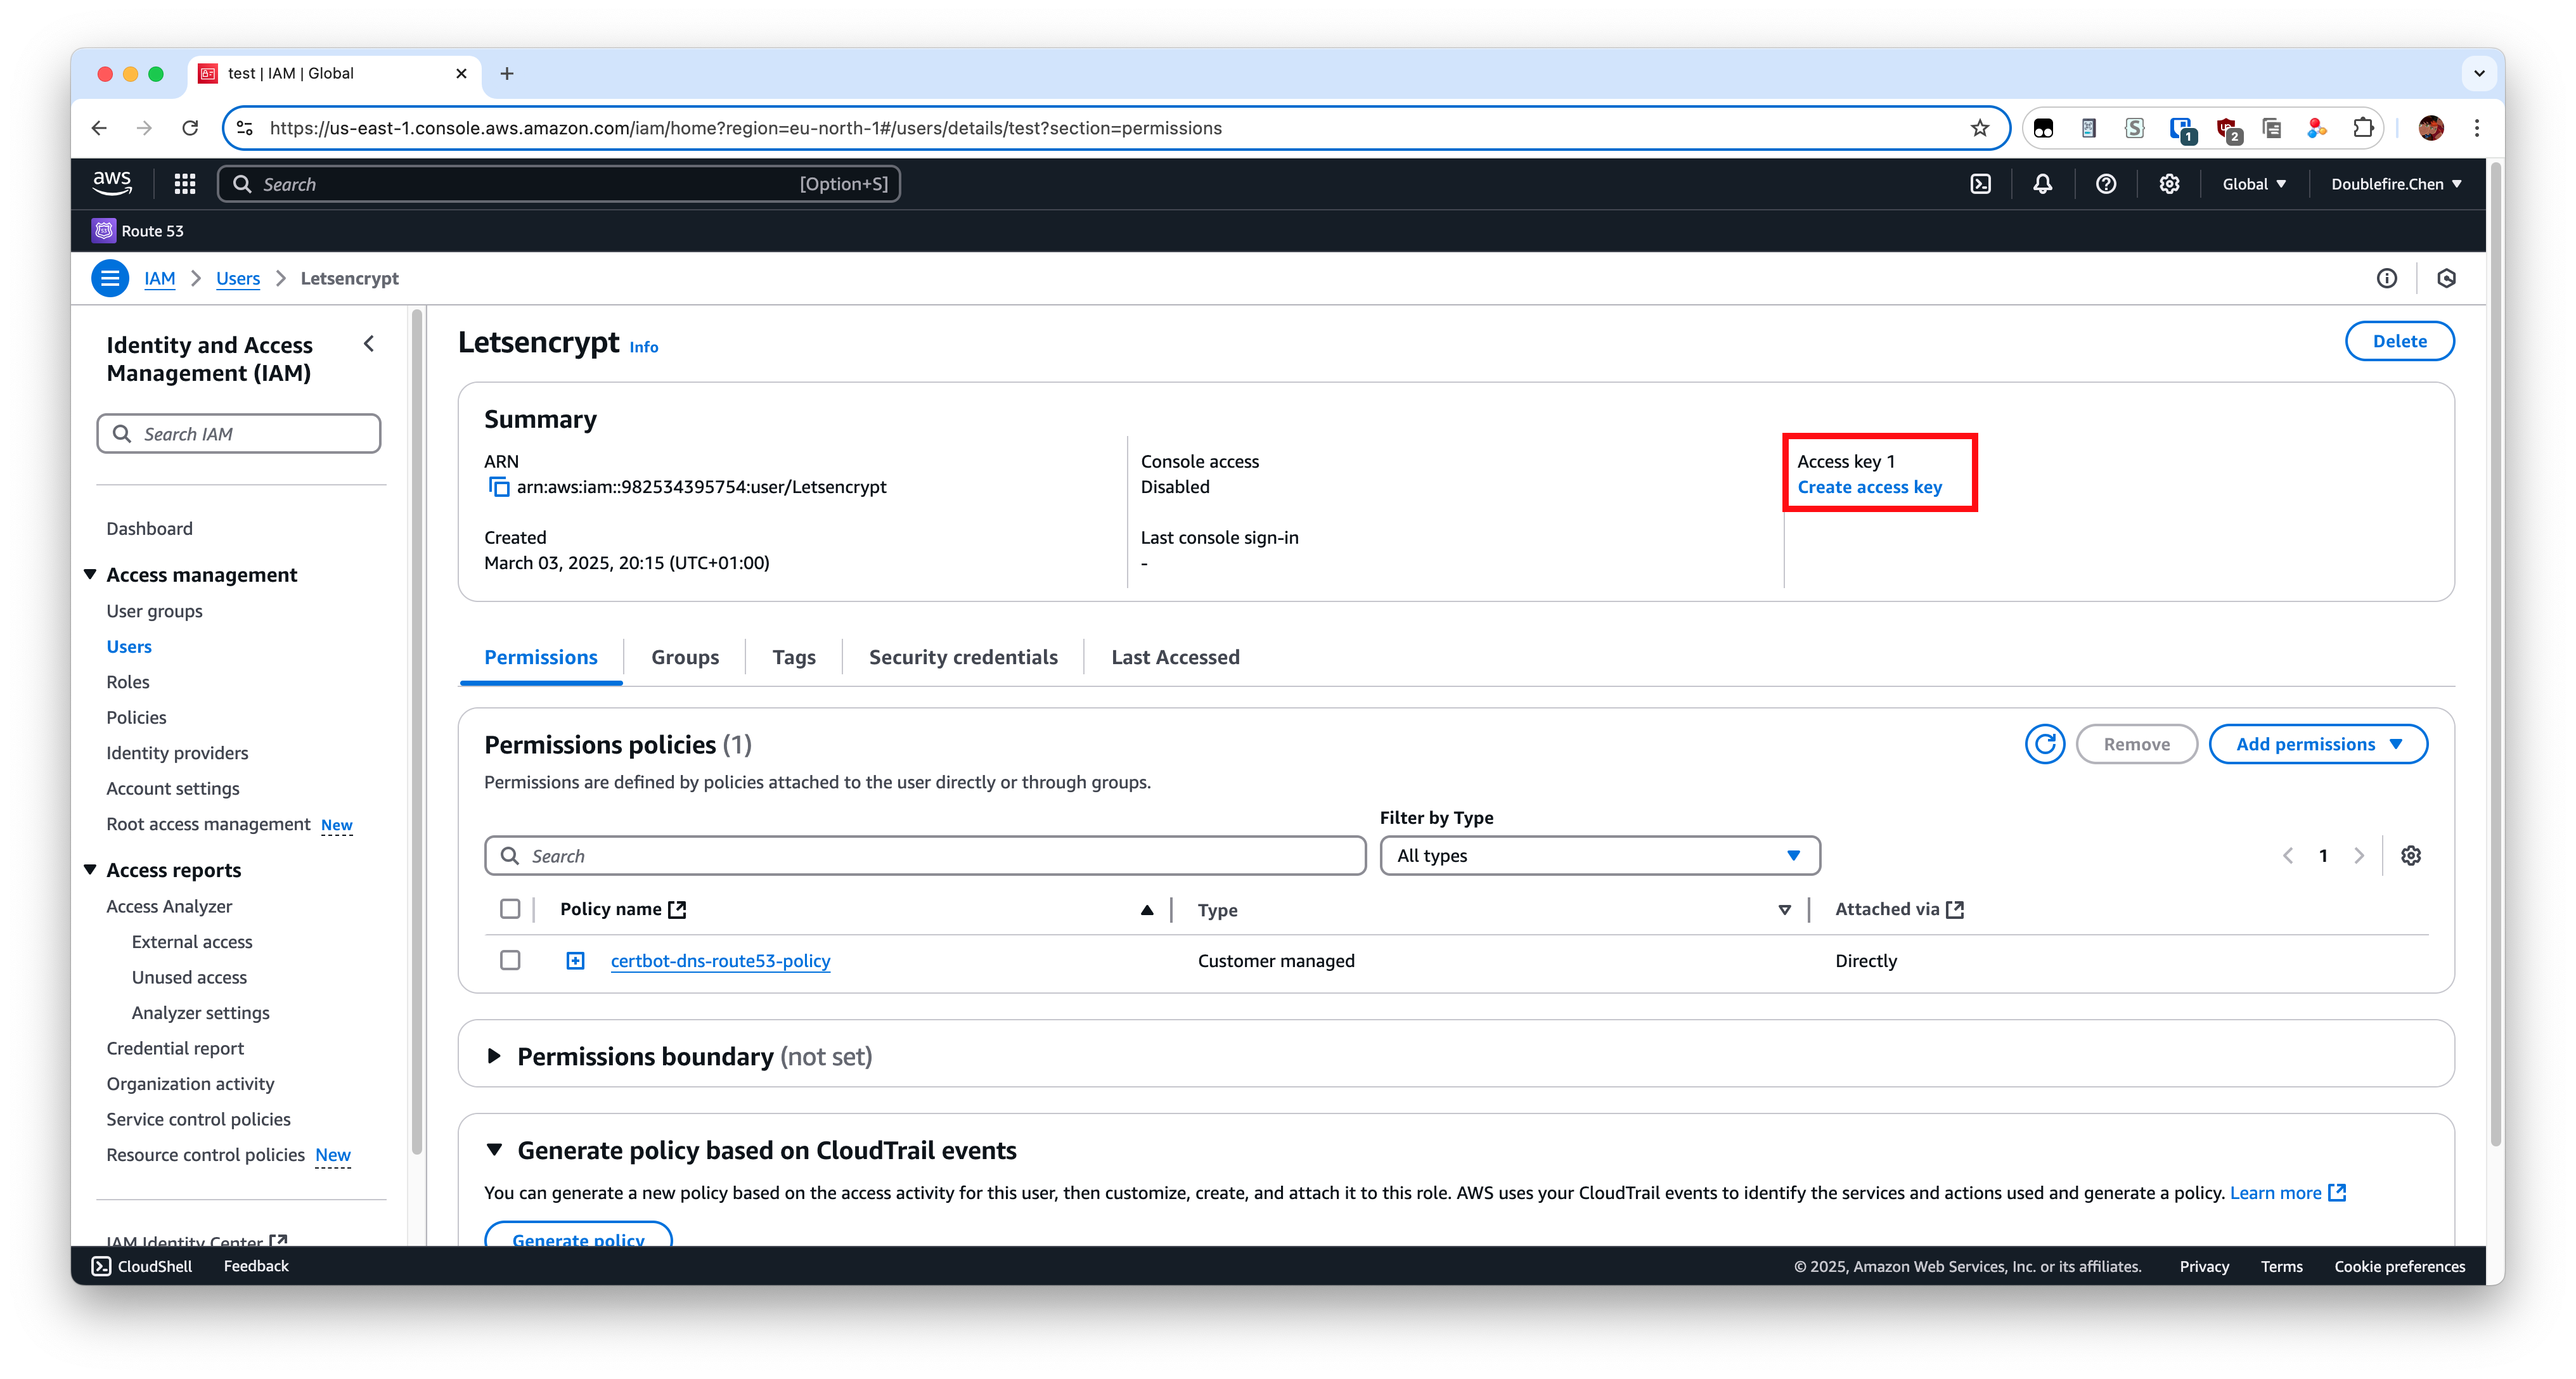
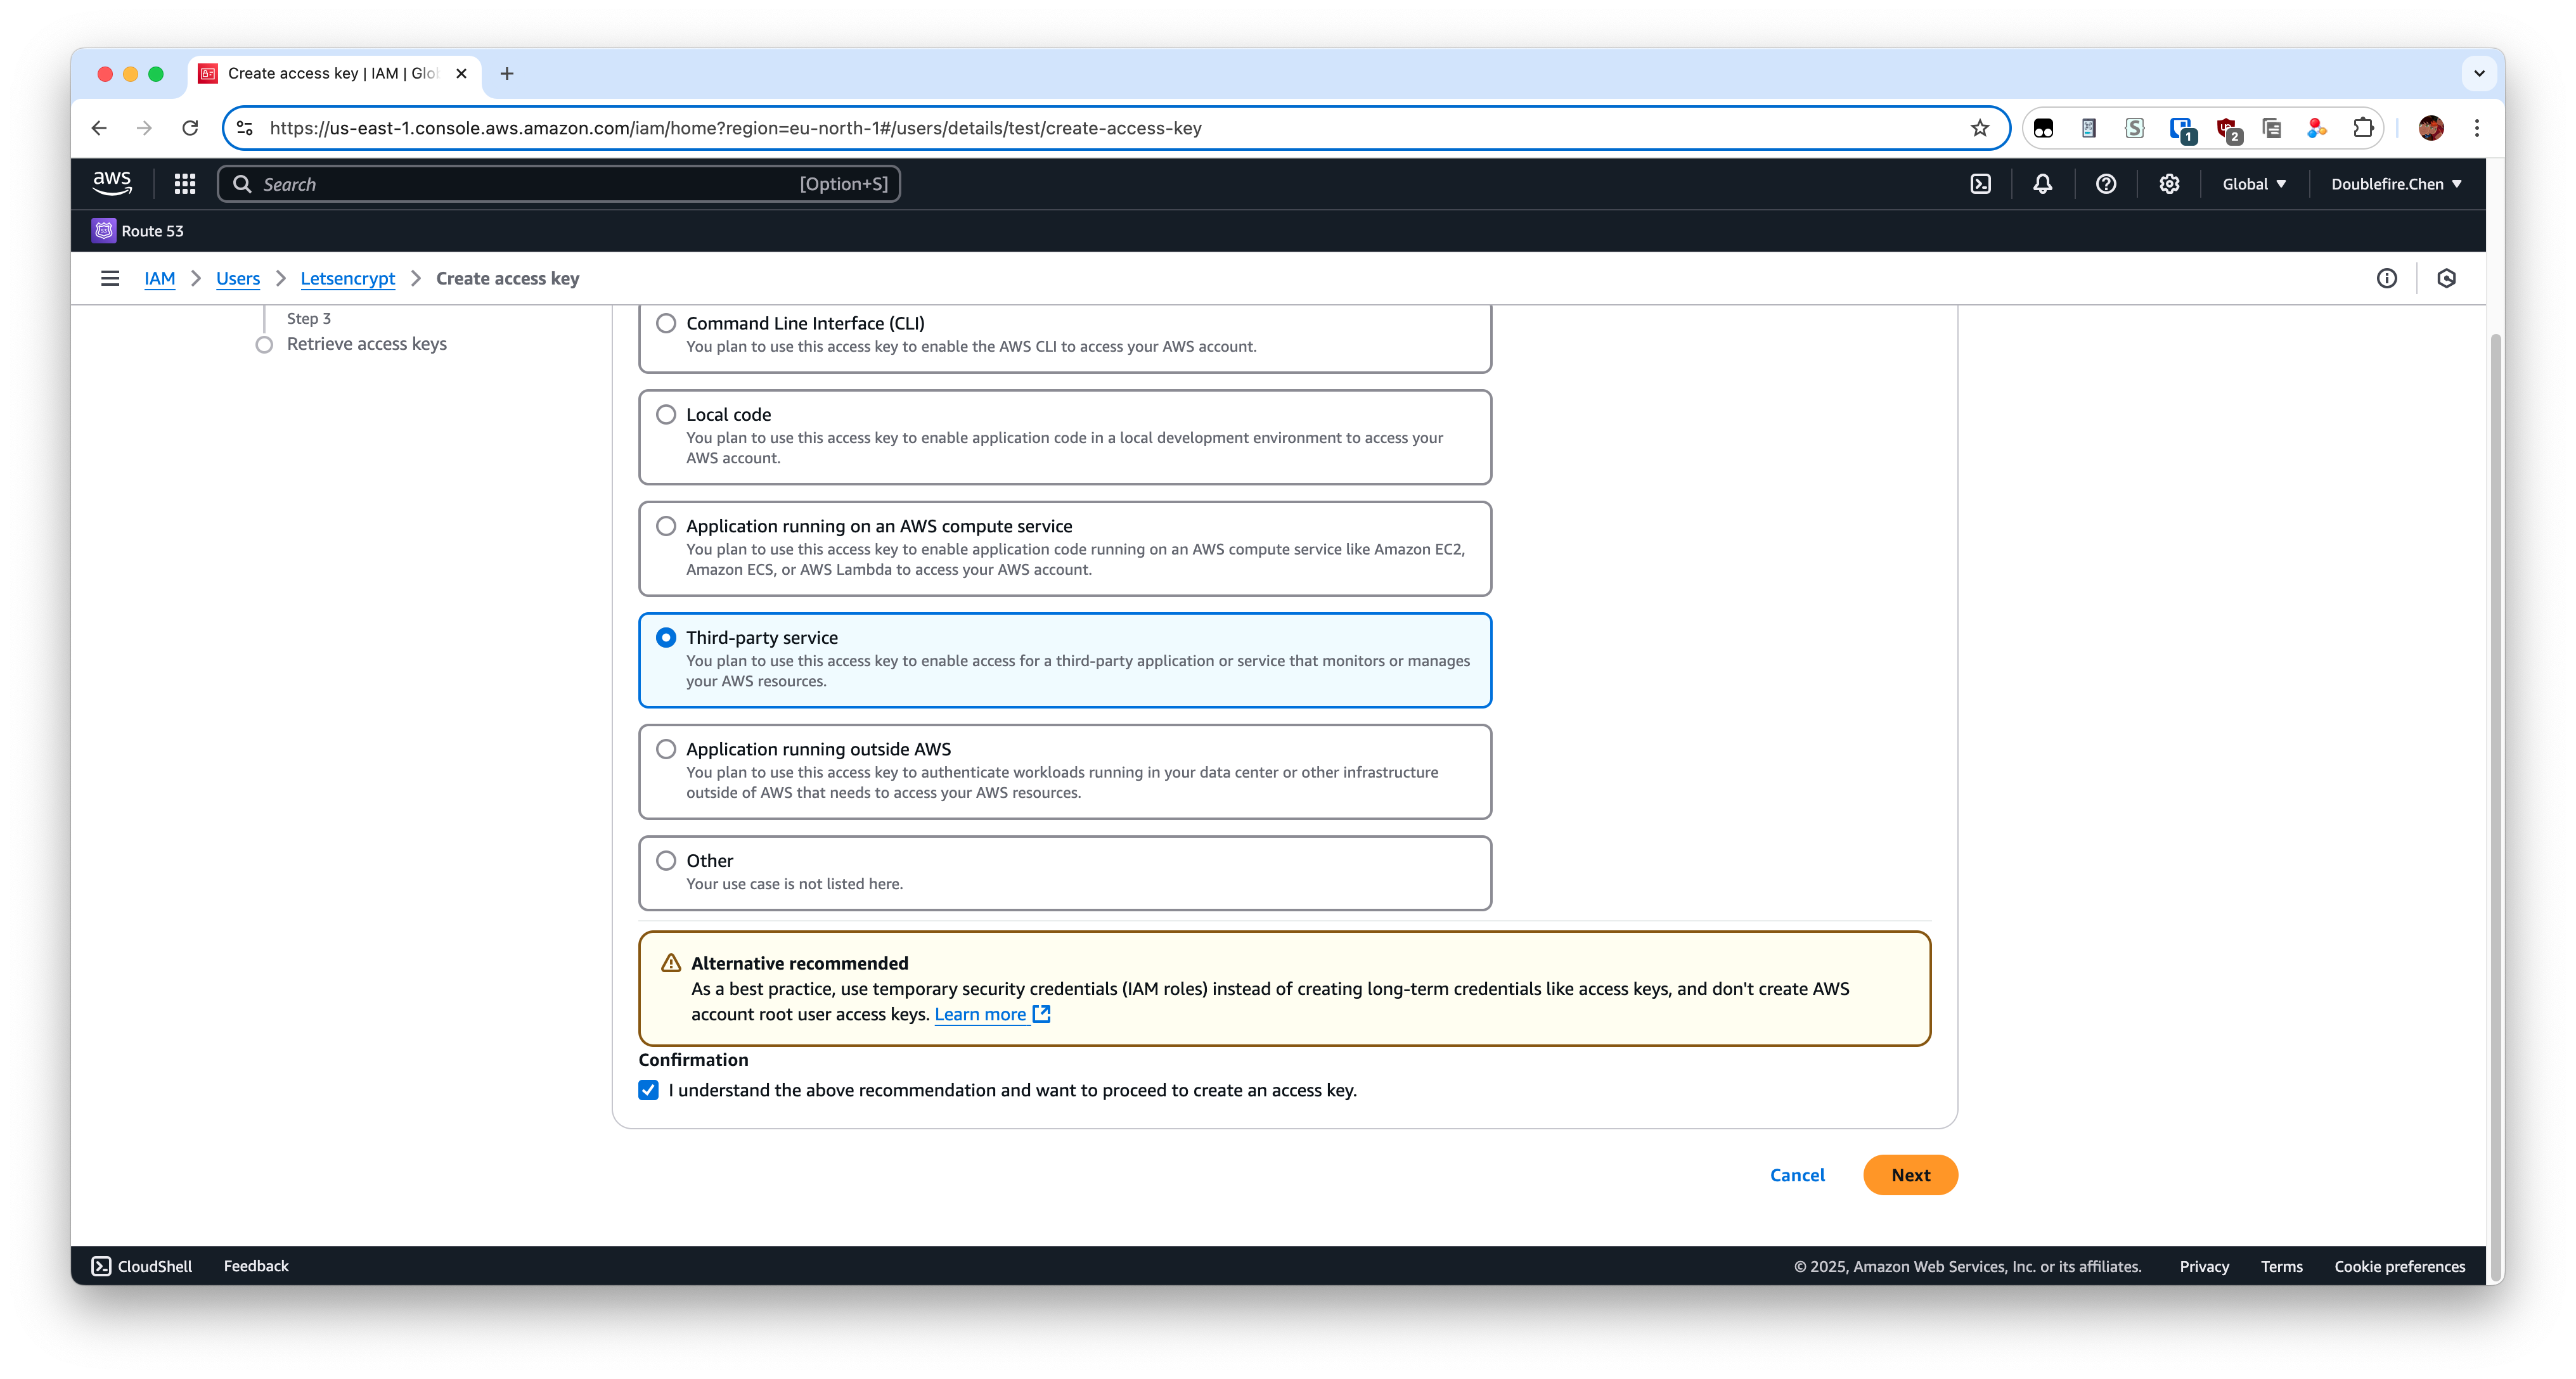
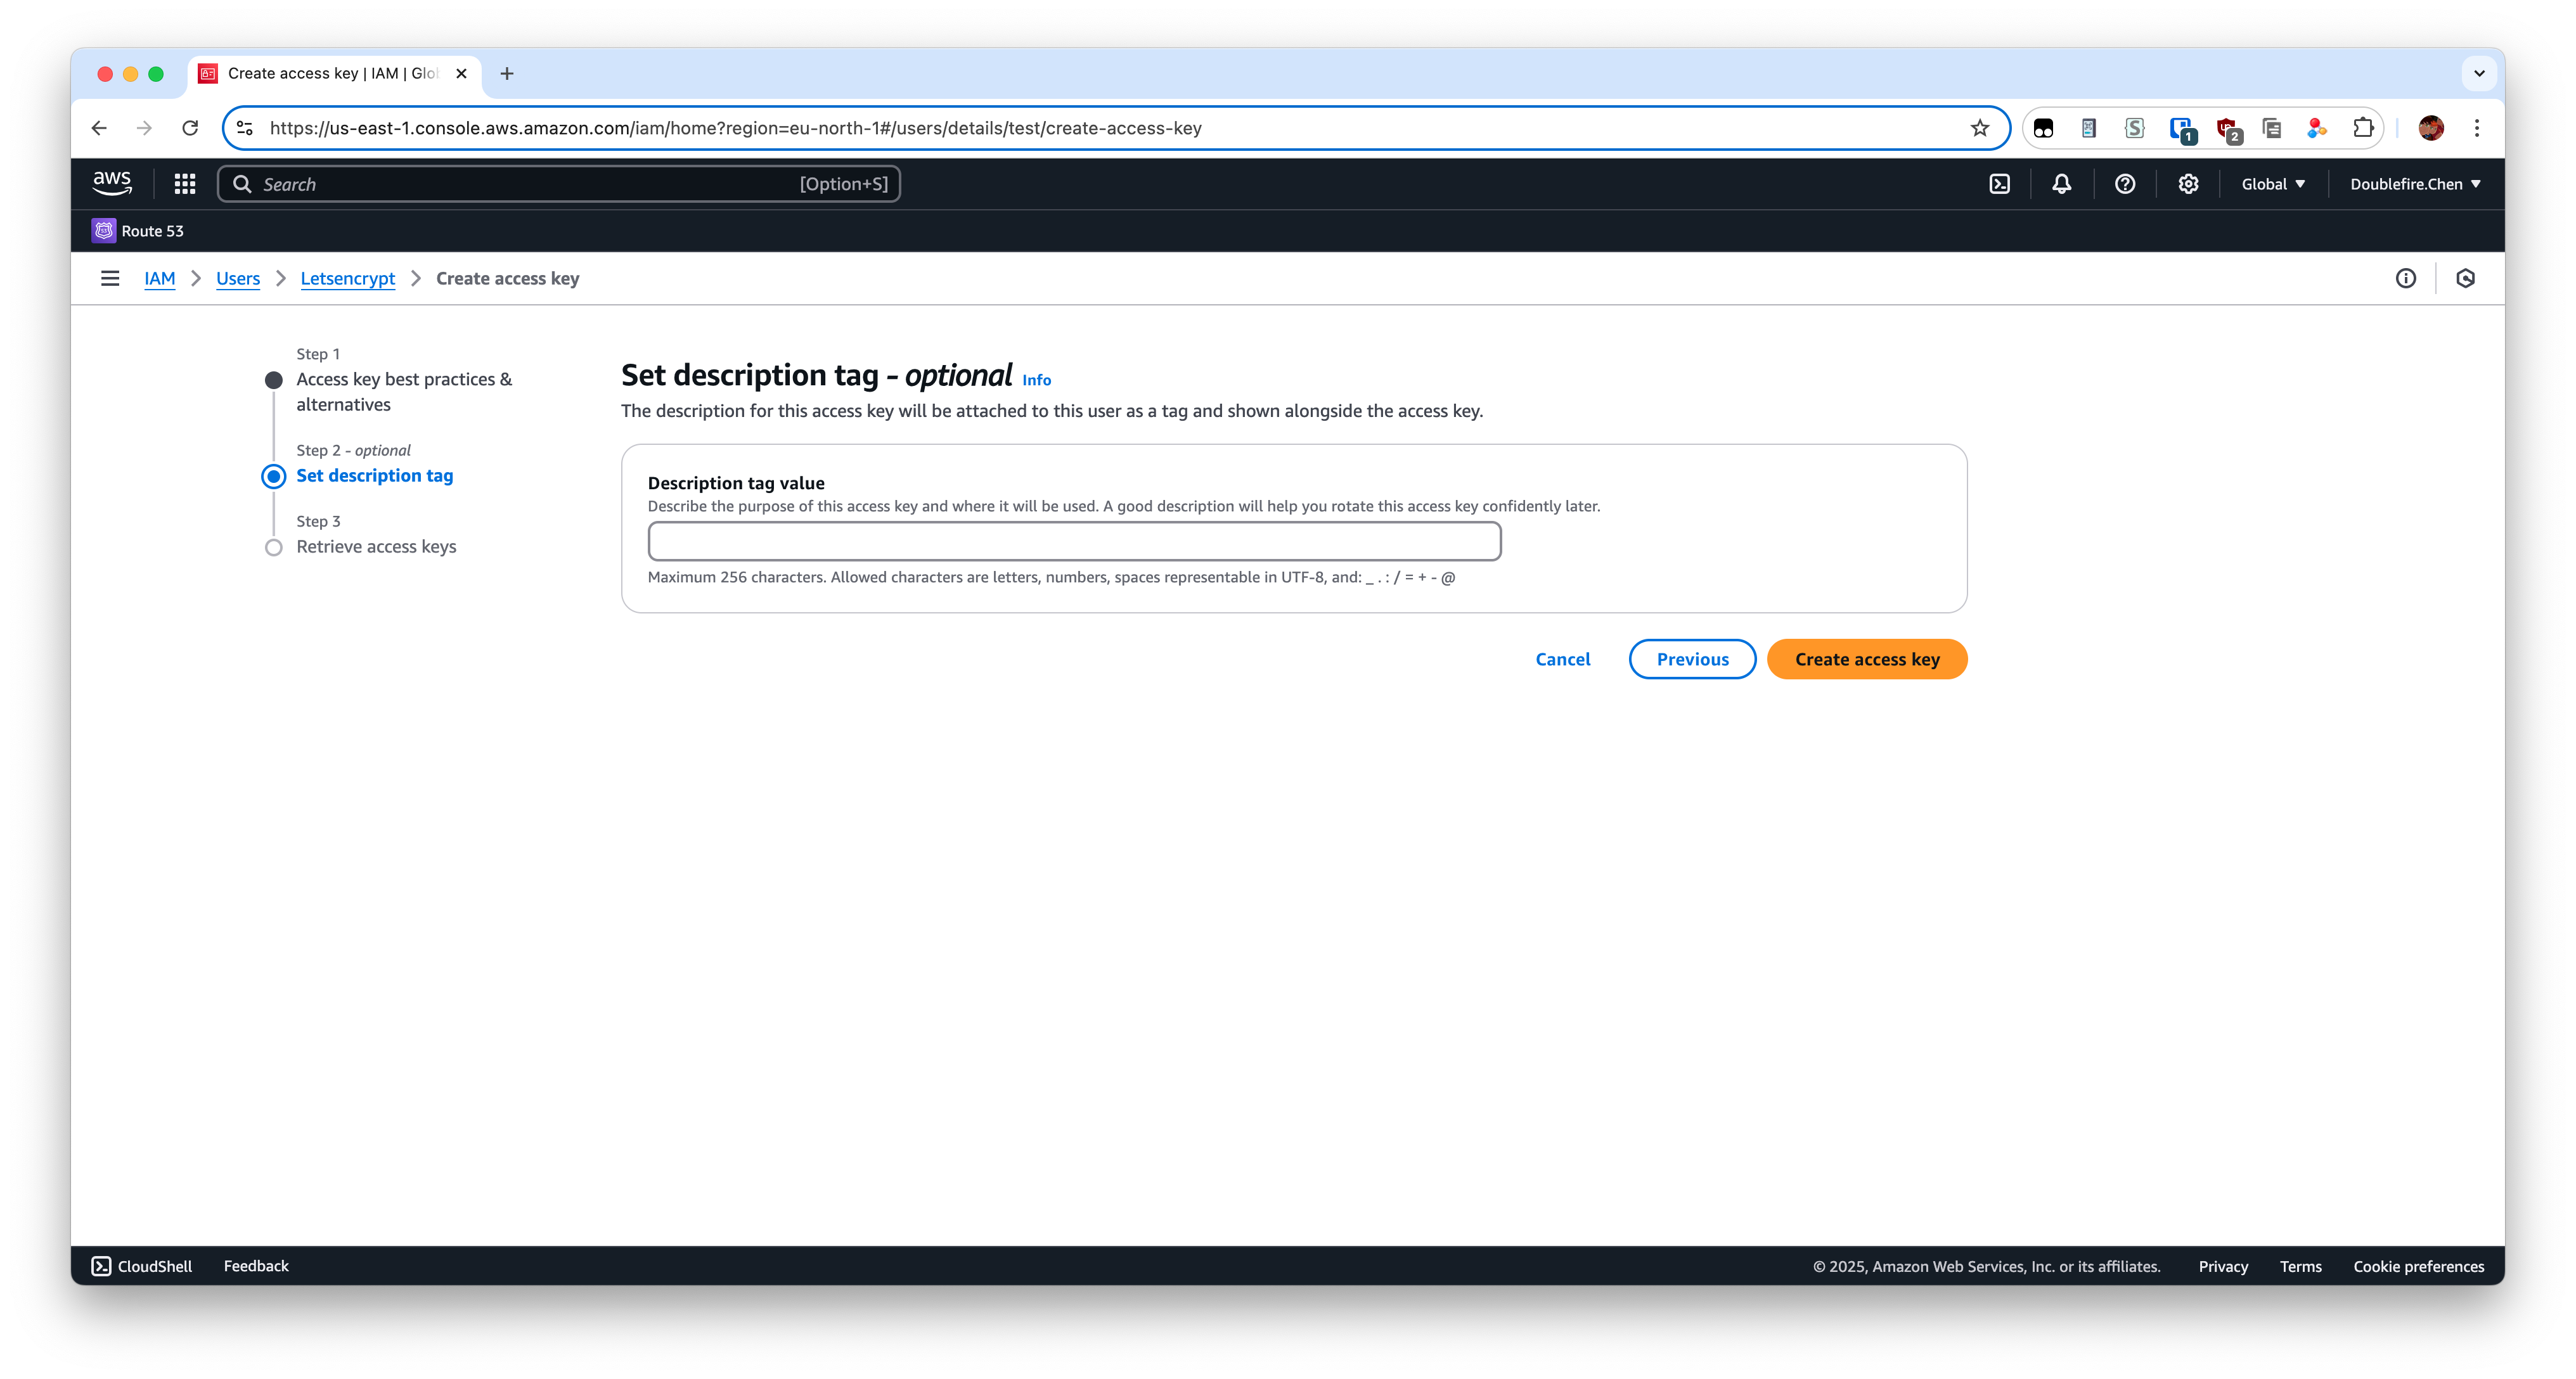
Then next step and create it. Now we need to create access key for this user.
Leave the tag value empty here.
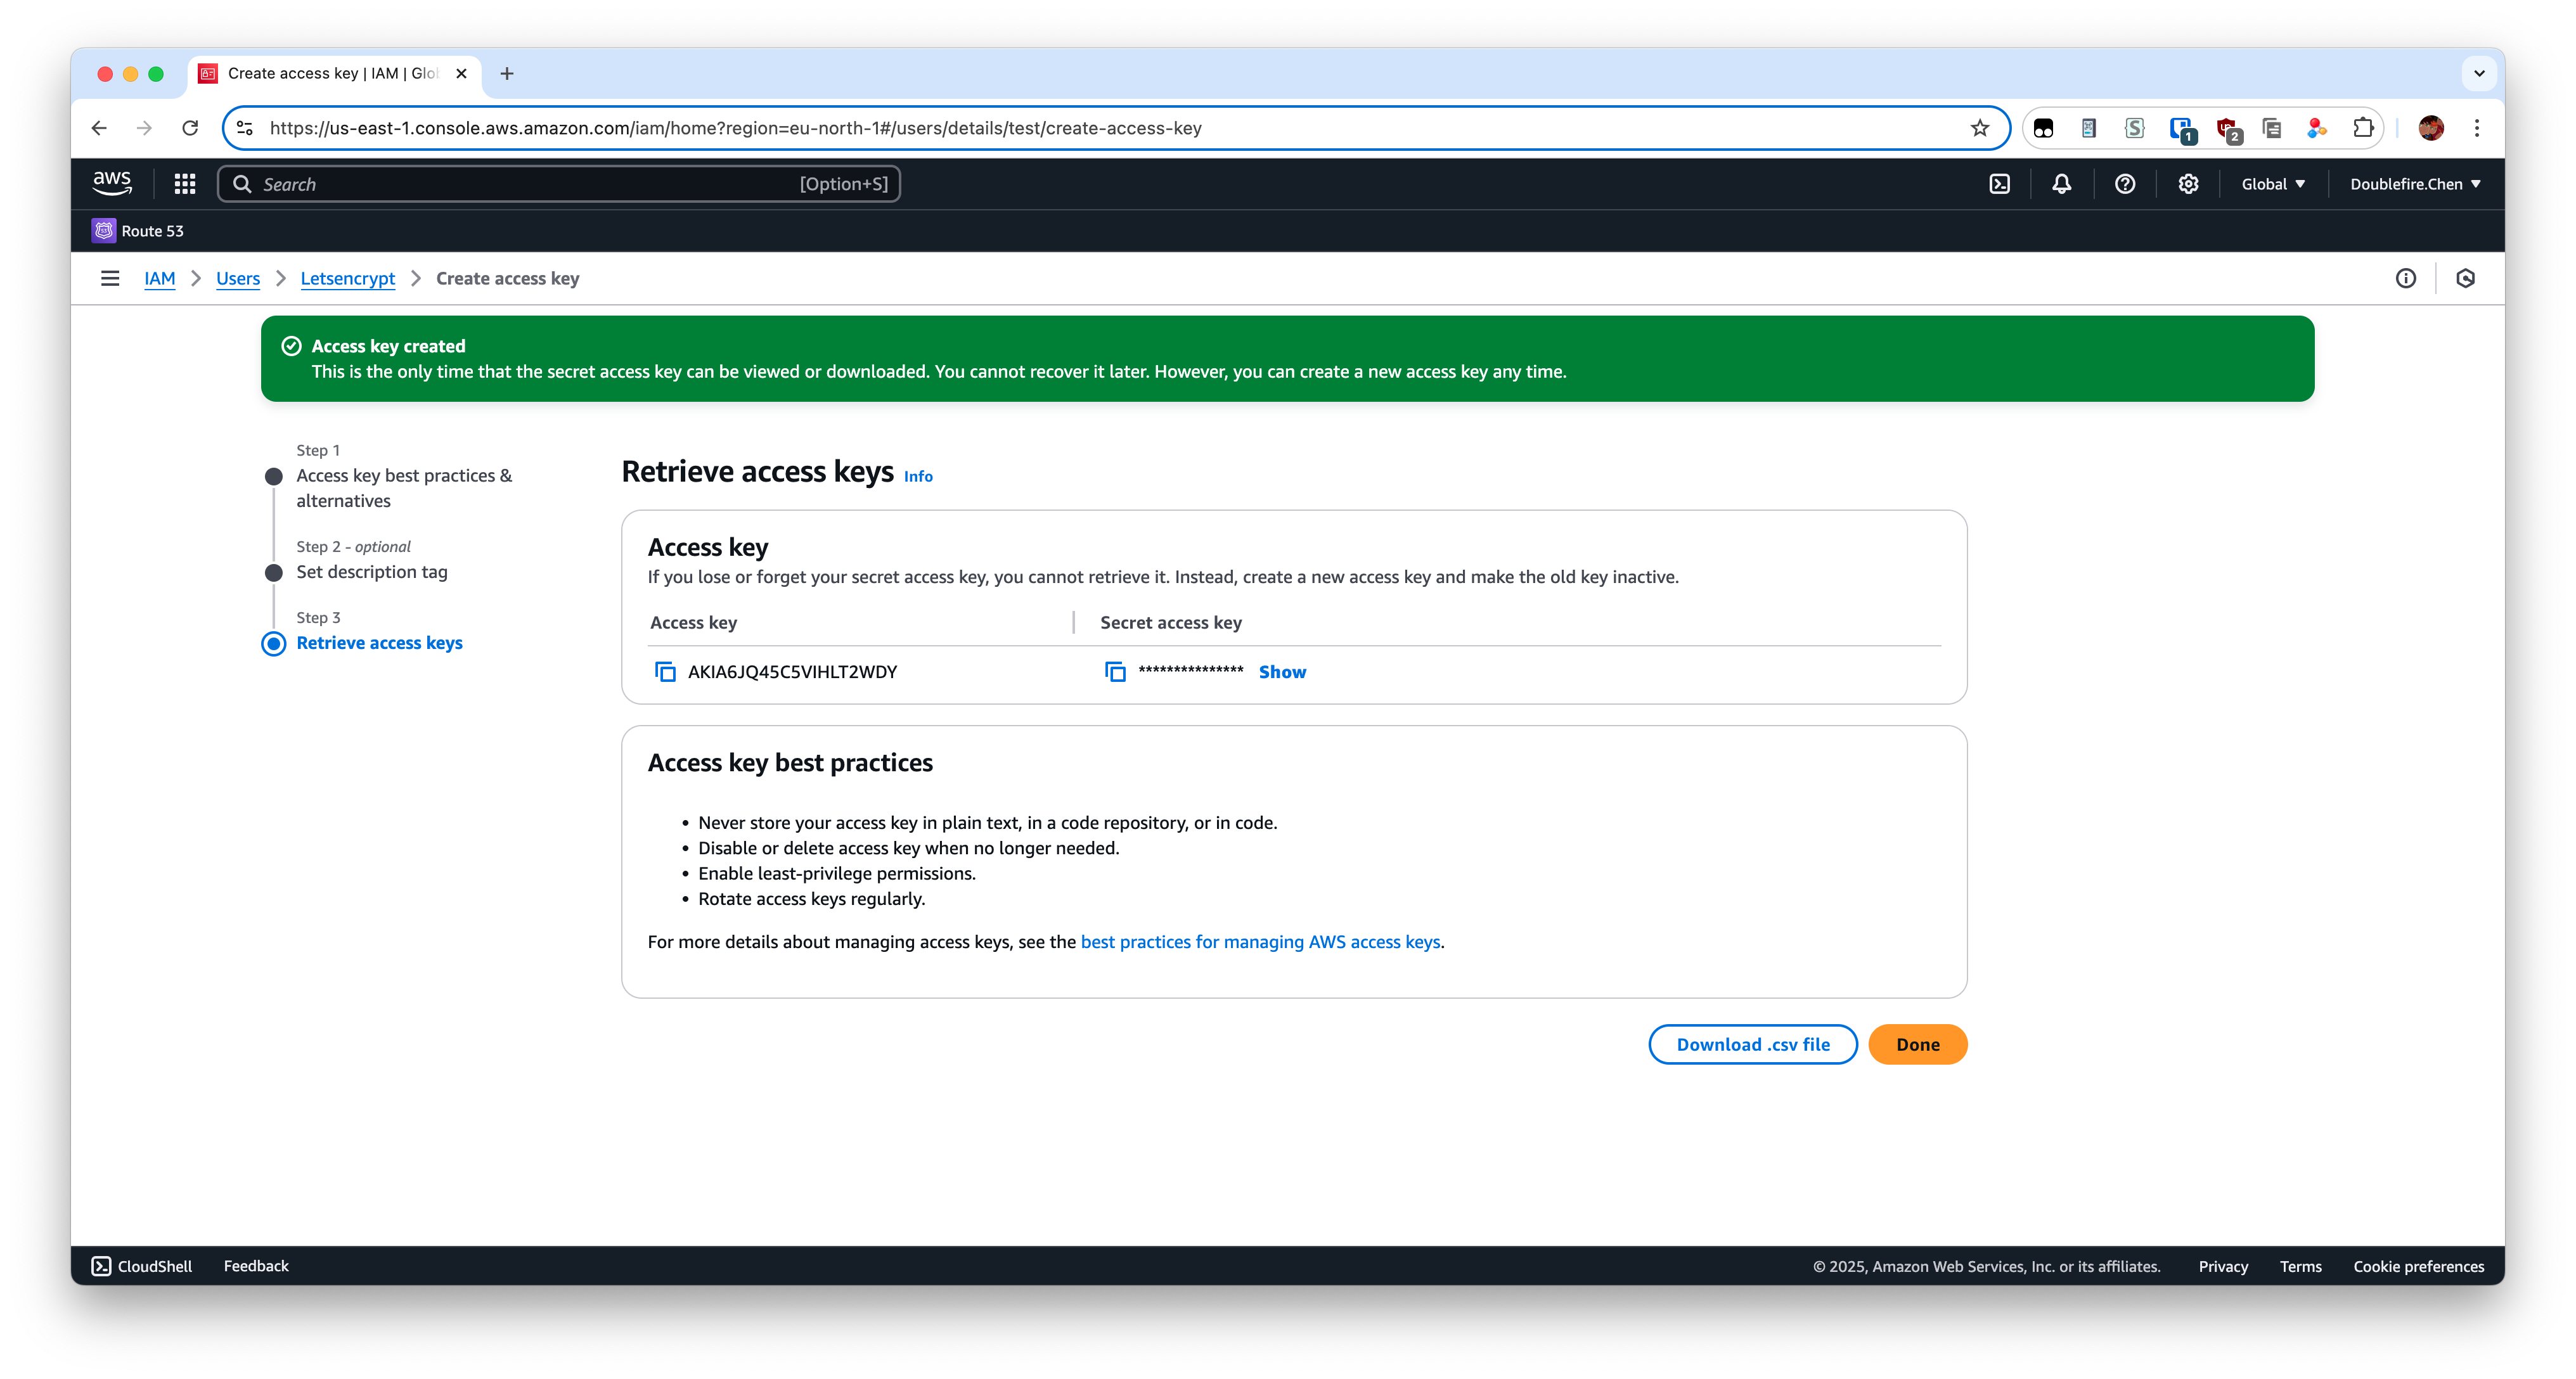
Record your Access key and Secret access key, which will be used later.
Up to now, we get our Route53 API credentials. Then log back to your server as root.
1
2
3
cd ~
mkdir .aws
vim .aws/config1
2
3[default]
aws_access_key_id=Your_aws_access_key_id
aws_secret_access_key=Your_aws_secret_access_key1
2
3
4
5
6certbot certonly \
--dns-route53 \
-d your.domain \
-d *.your.domain
# Set up automatic renewal
echo "0 0,12 * * * root /opt/certbot/bin/python -c 'import random; import time; time.sleep(random.random() * 3600)' && sudo certbot renew -q" | sudo tee -a /etc/crontab > /dev/null
Cloudflare DNS
1 | sudo apt update |
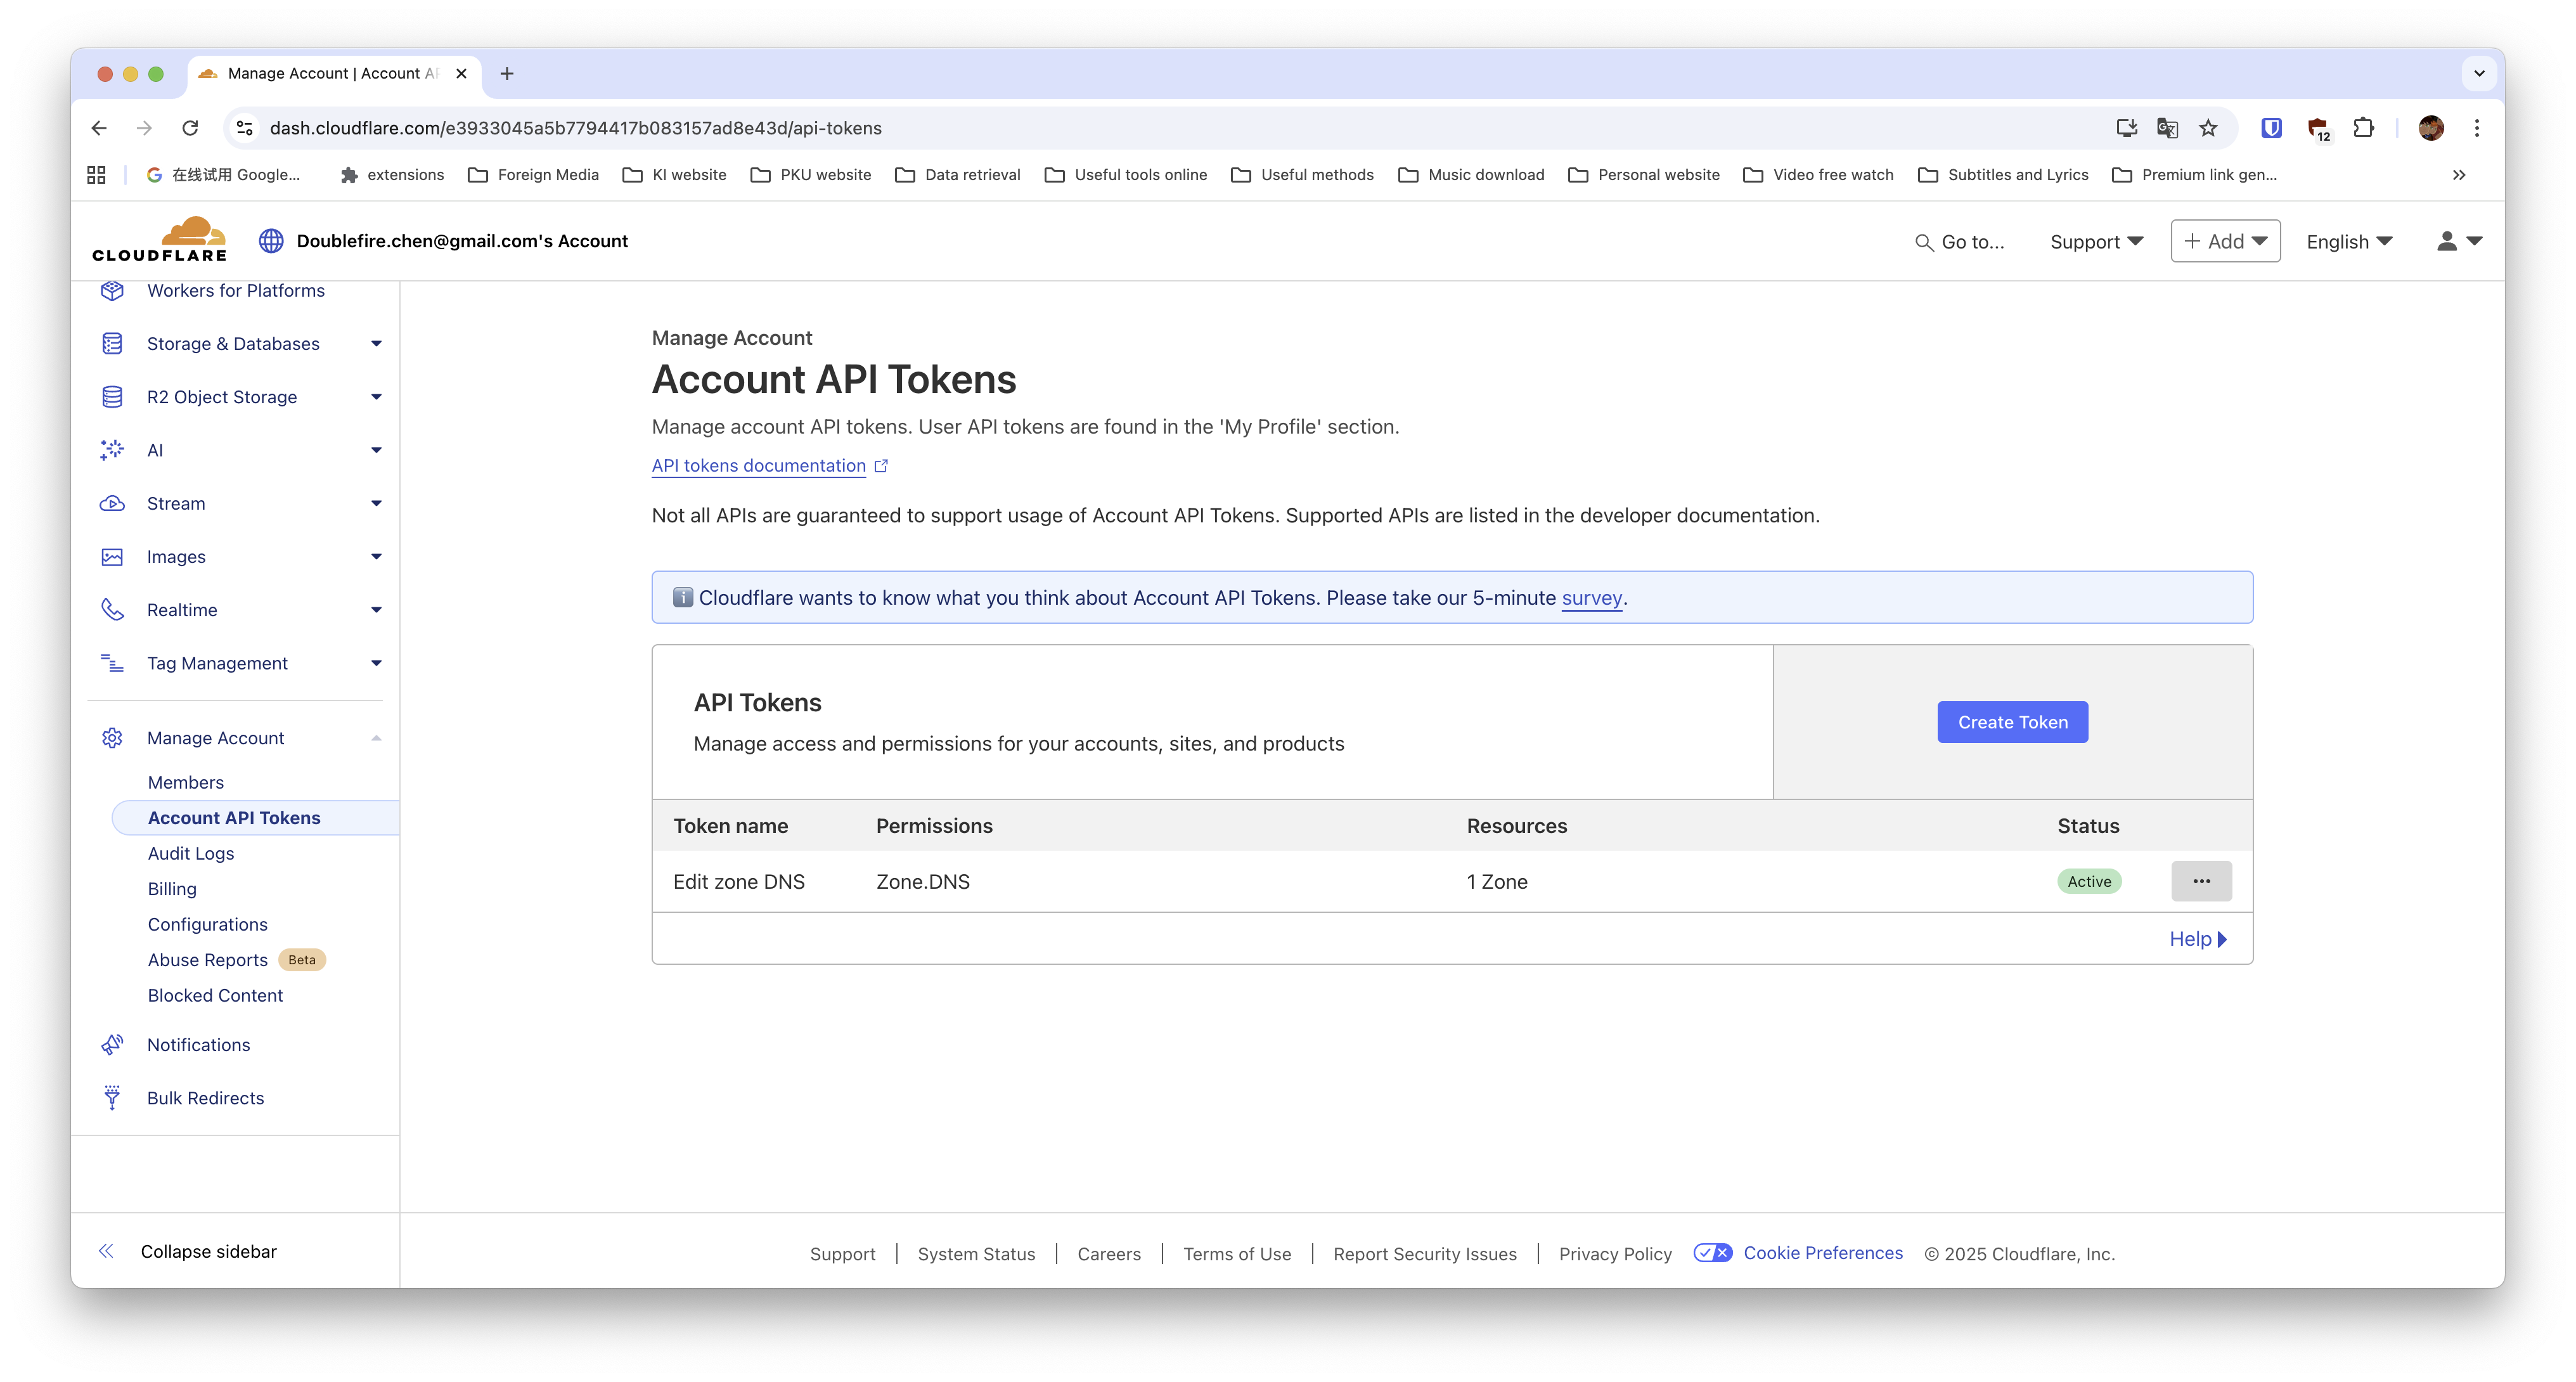
Config your Cloudflare API credentials
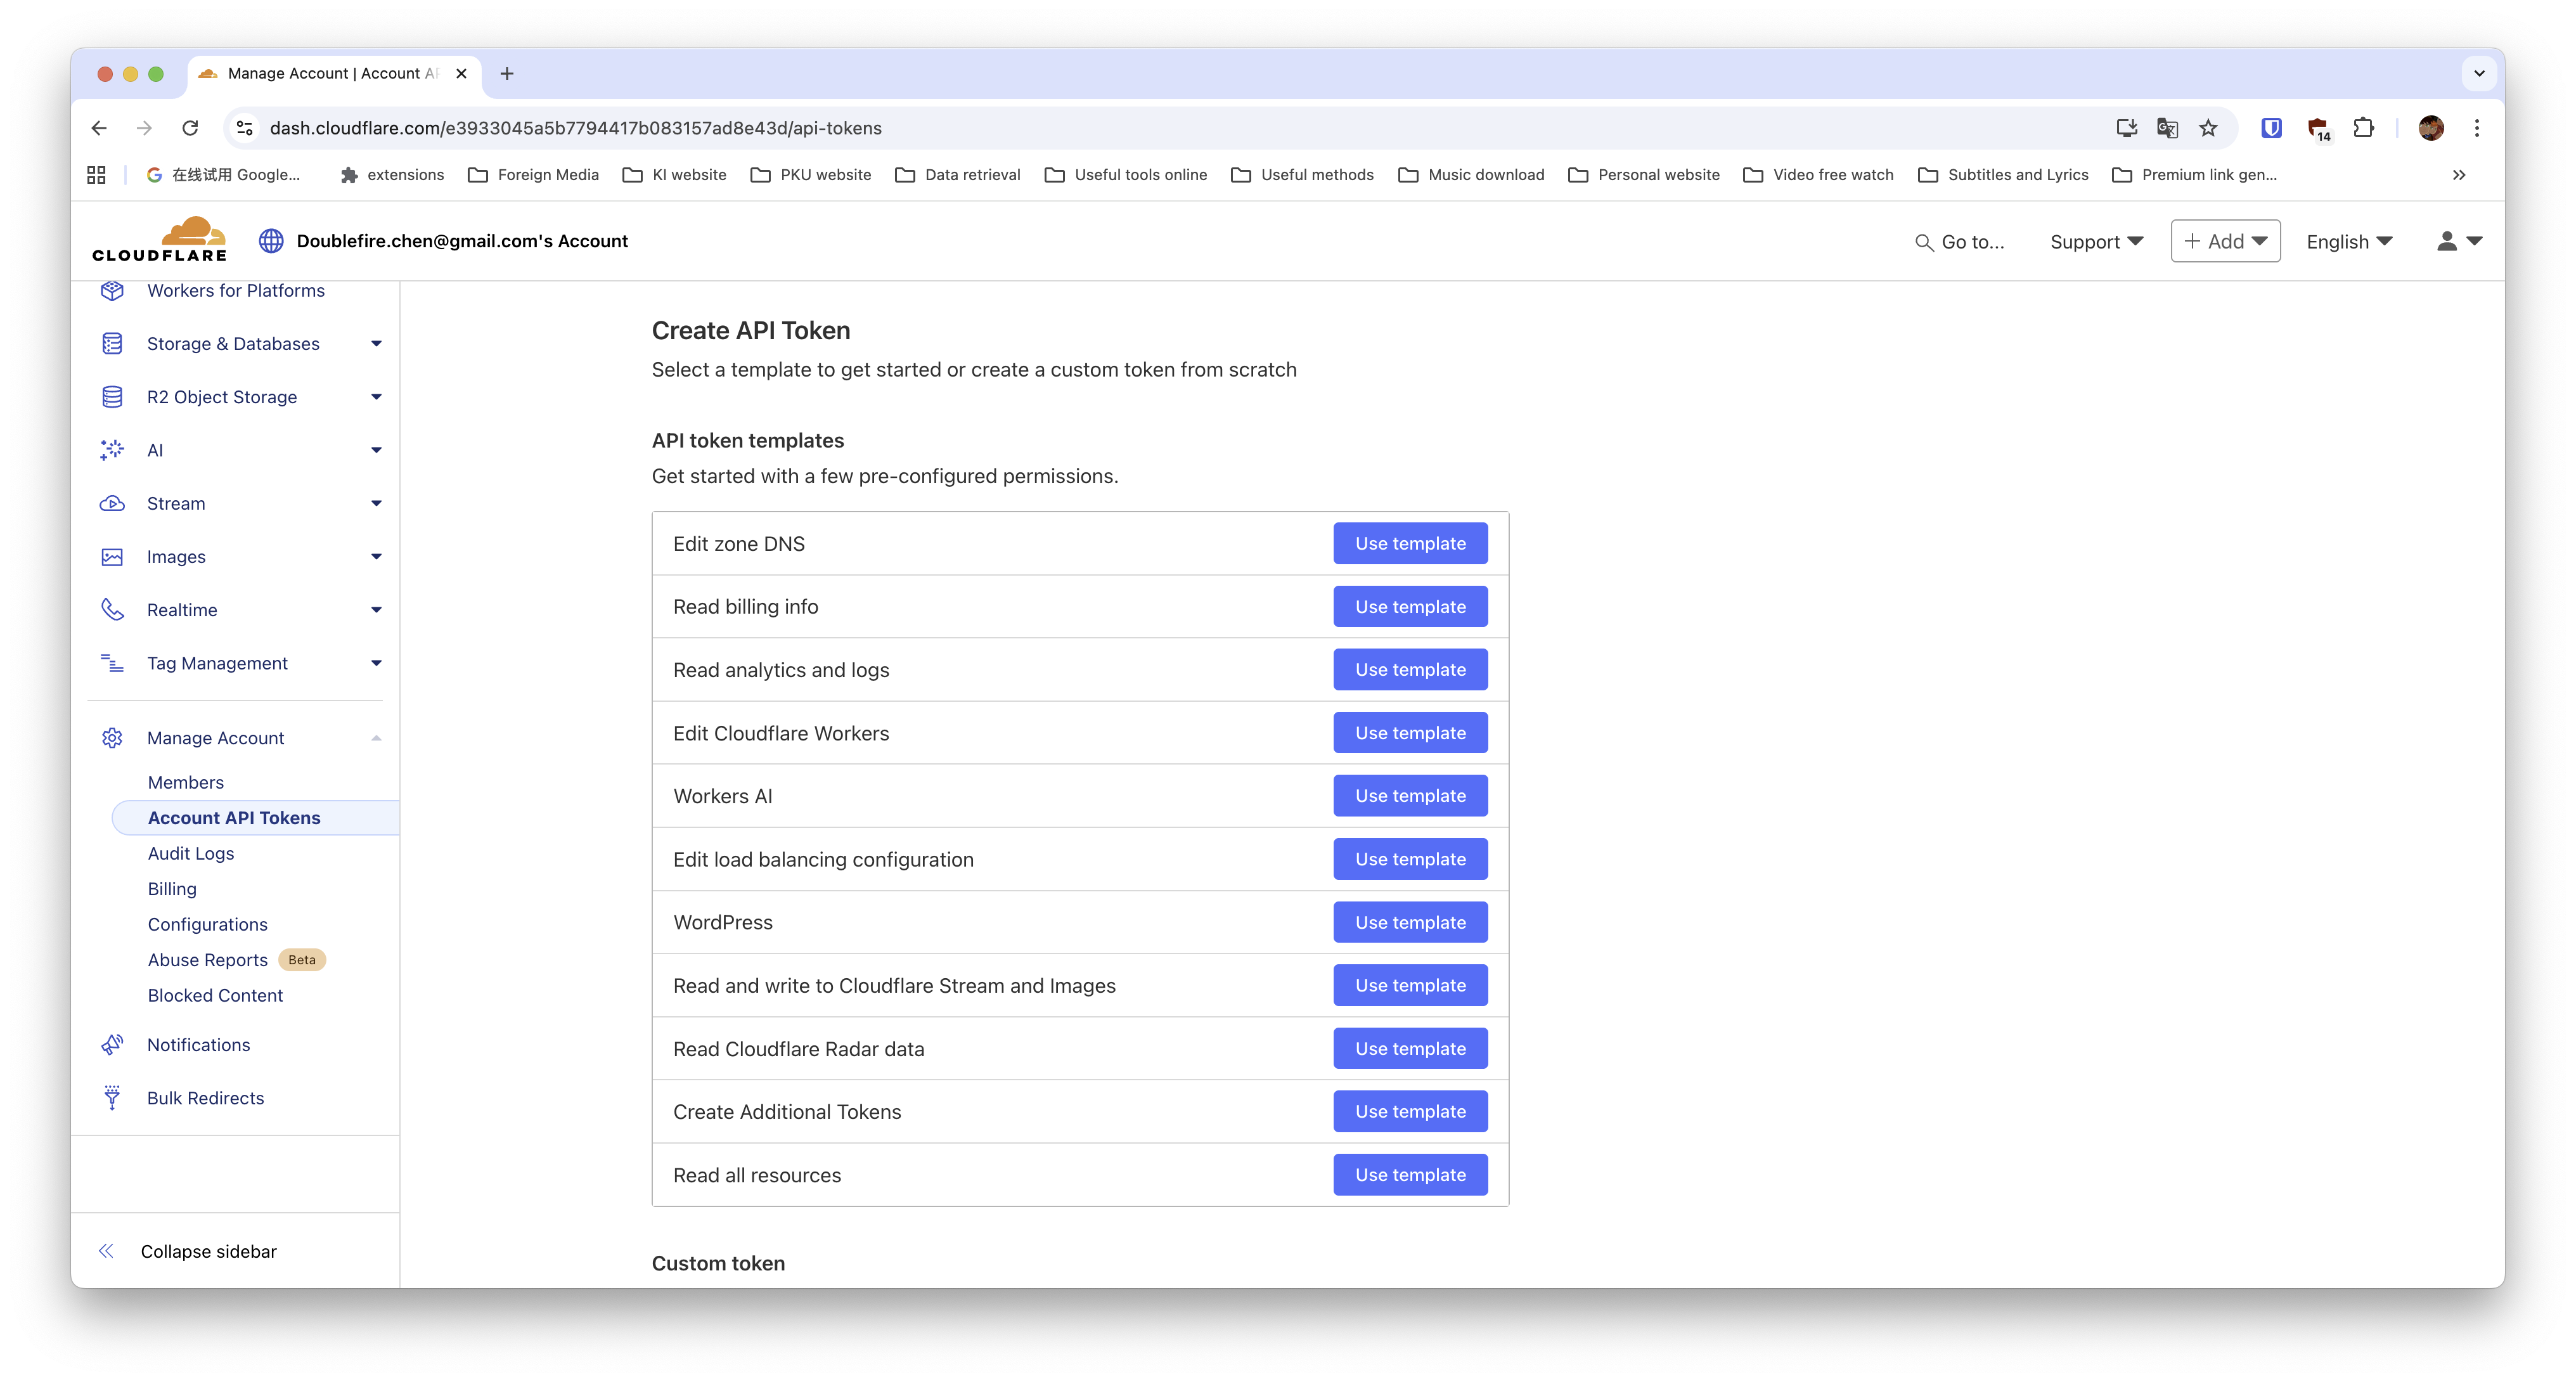
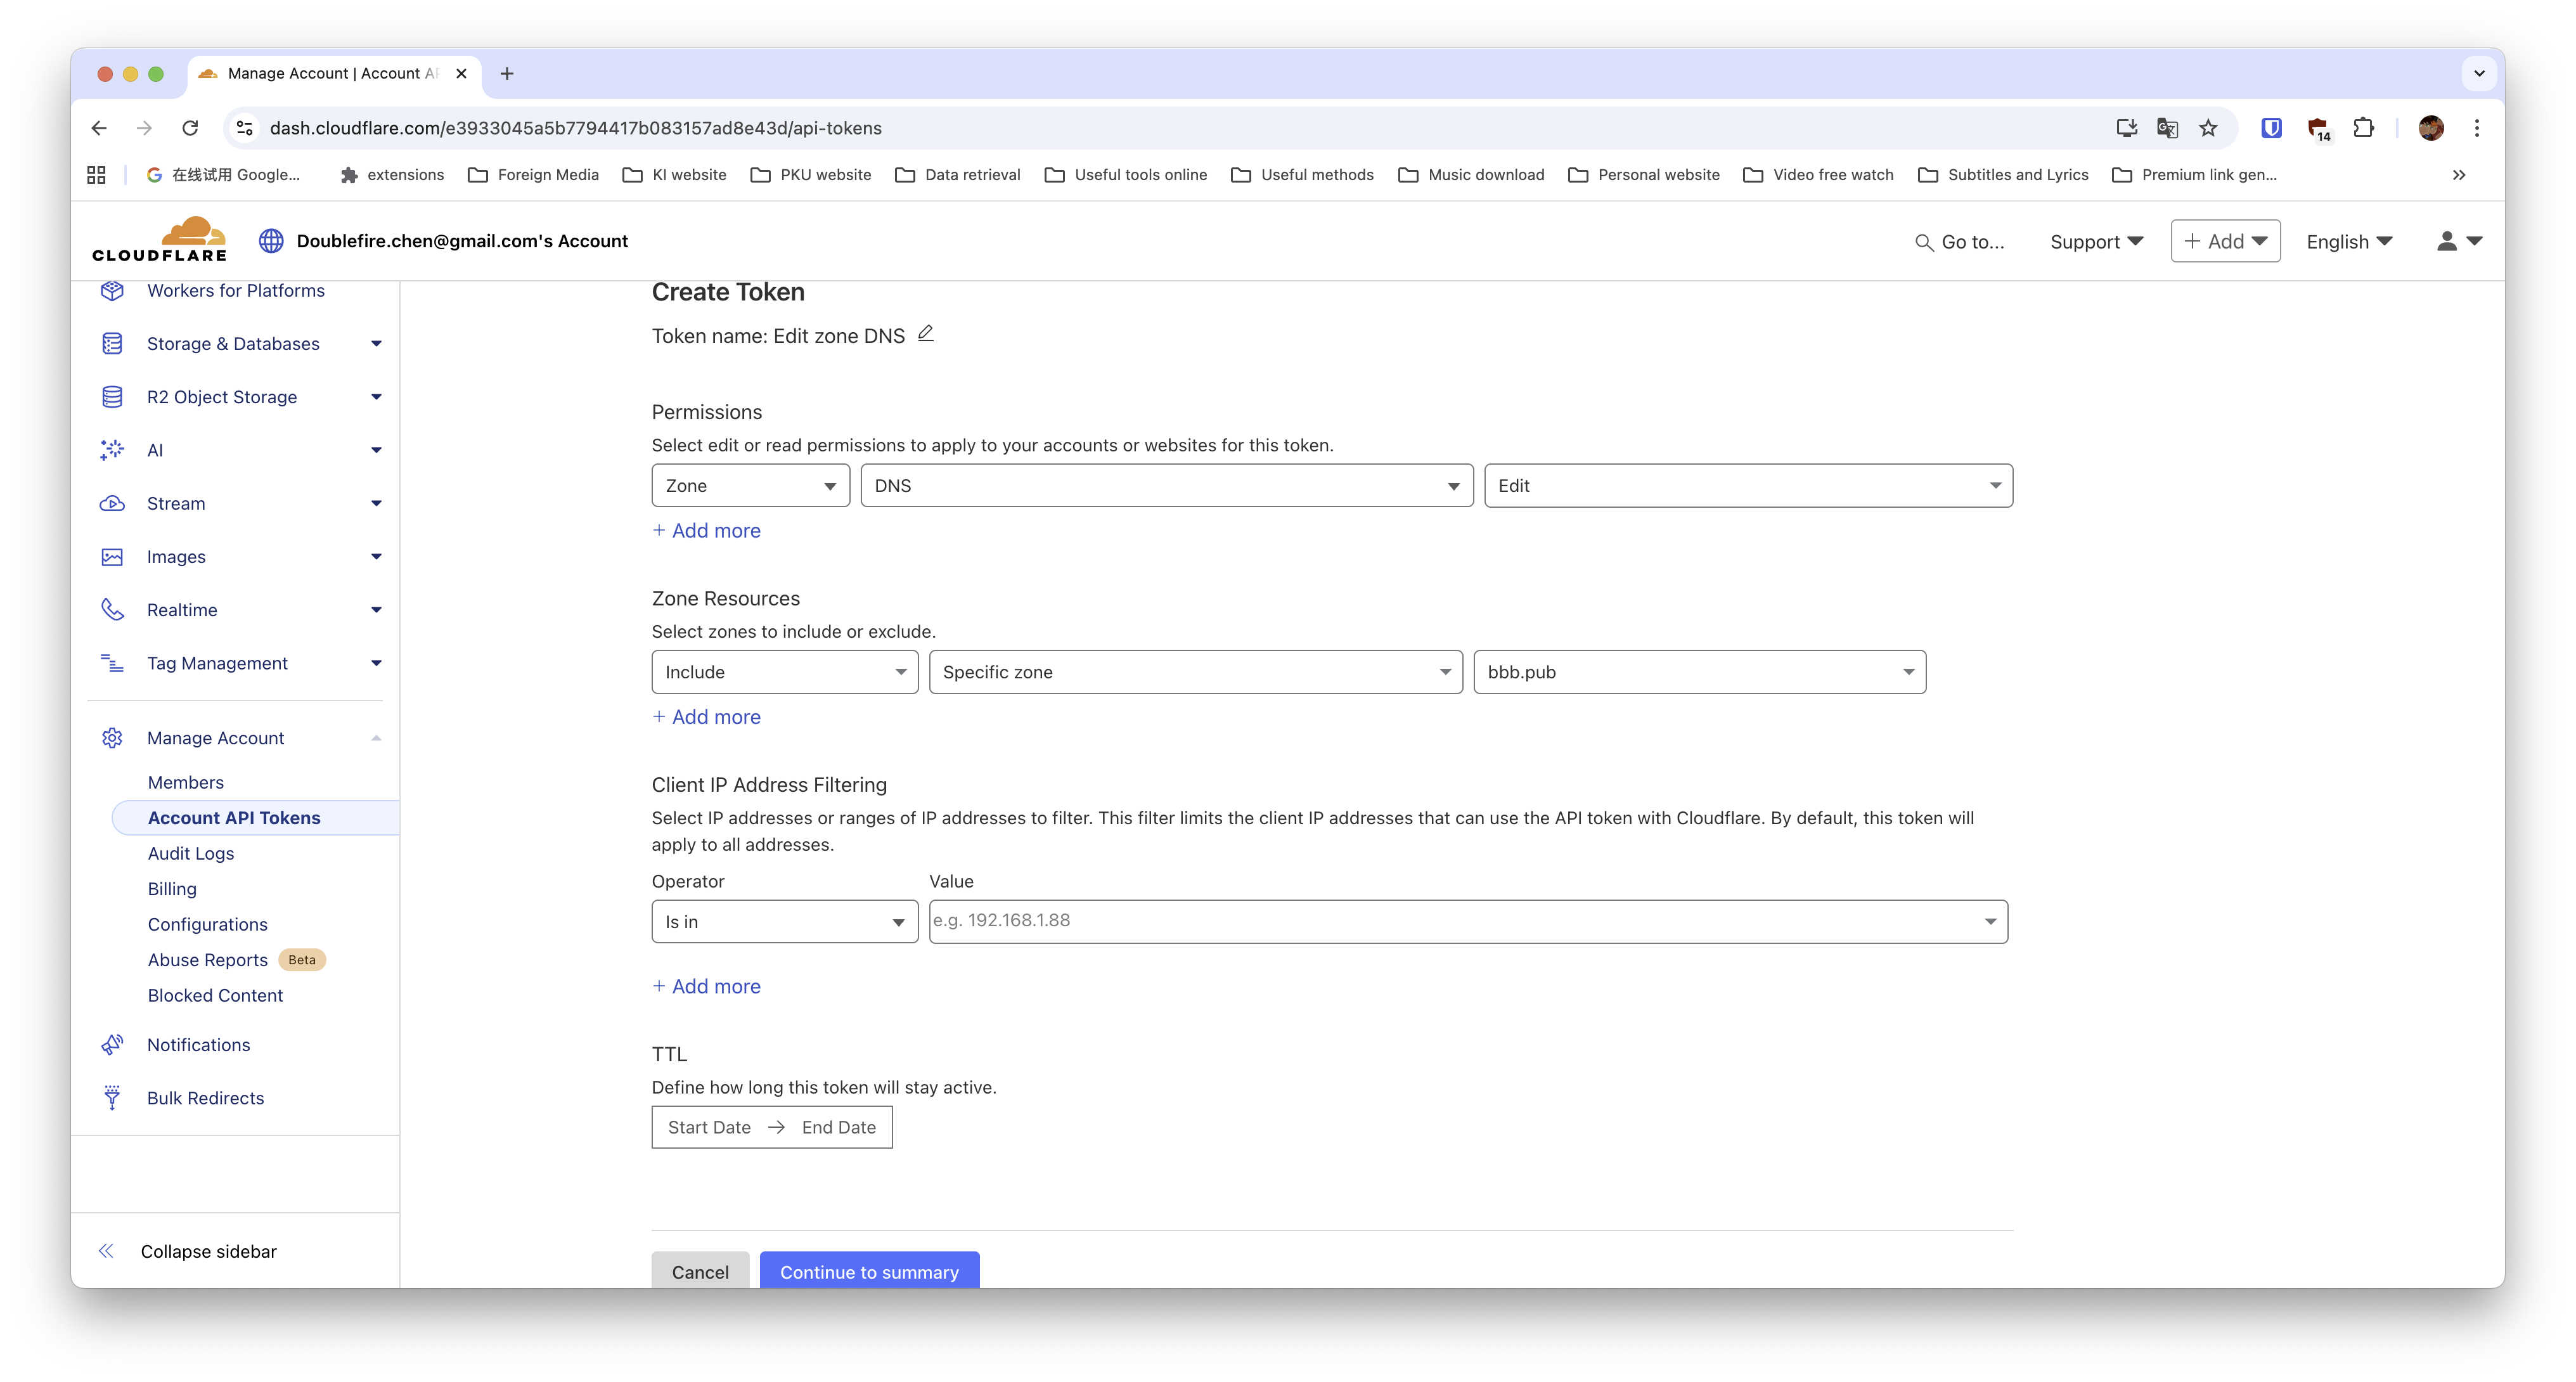
- Login => Manage Account =>Click “Create Token”
- Use template “Edit zone DNS”
- Set permission to edit, include the domain you want to apply wildcard certificate, then add your server ip to white list. Continue to create token and you will get your secret keys.
Apply wildcard SSL certificate
1 | mkdir .secrets |
1 | # Cloudflare API token used by Certbot |
1 | chmod 600 /root/.secrets/certbot/cloudflare.ini |