How to deploy this blog on multiple servers (Load balance based on geoip)
Goal
When visitor is from Europe, the content of blog is provided by server in Europe; when visitor is from Asia, the content of blog is from server in Asia, and so on. In this way, you visitors can have a lower latency and fast load speed thus get a better experience when reading your blog. This is very similar to CDN, the difference is that this method is more controllable and transparent as the load balance rule is created ourself.
How to do it
Deploy Syncthing on every server you want to use as balancer
Follow this tutorial to install syncthing.
Set geoip based DNS
First of all, choose a smart DNS provider for you. You can reference to my another post which compares most of available smart DNS provider. For me, I am using AWS Route53.
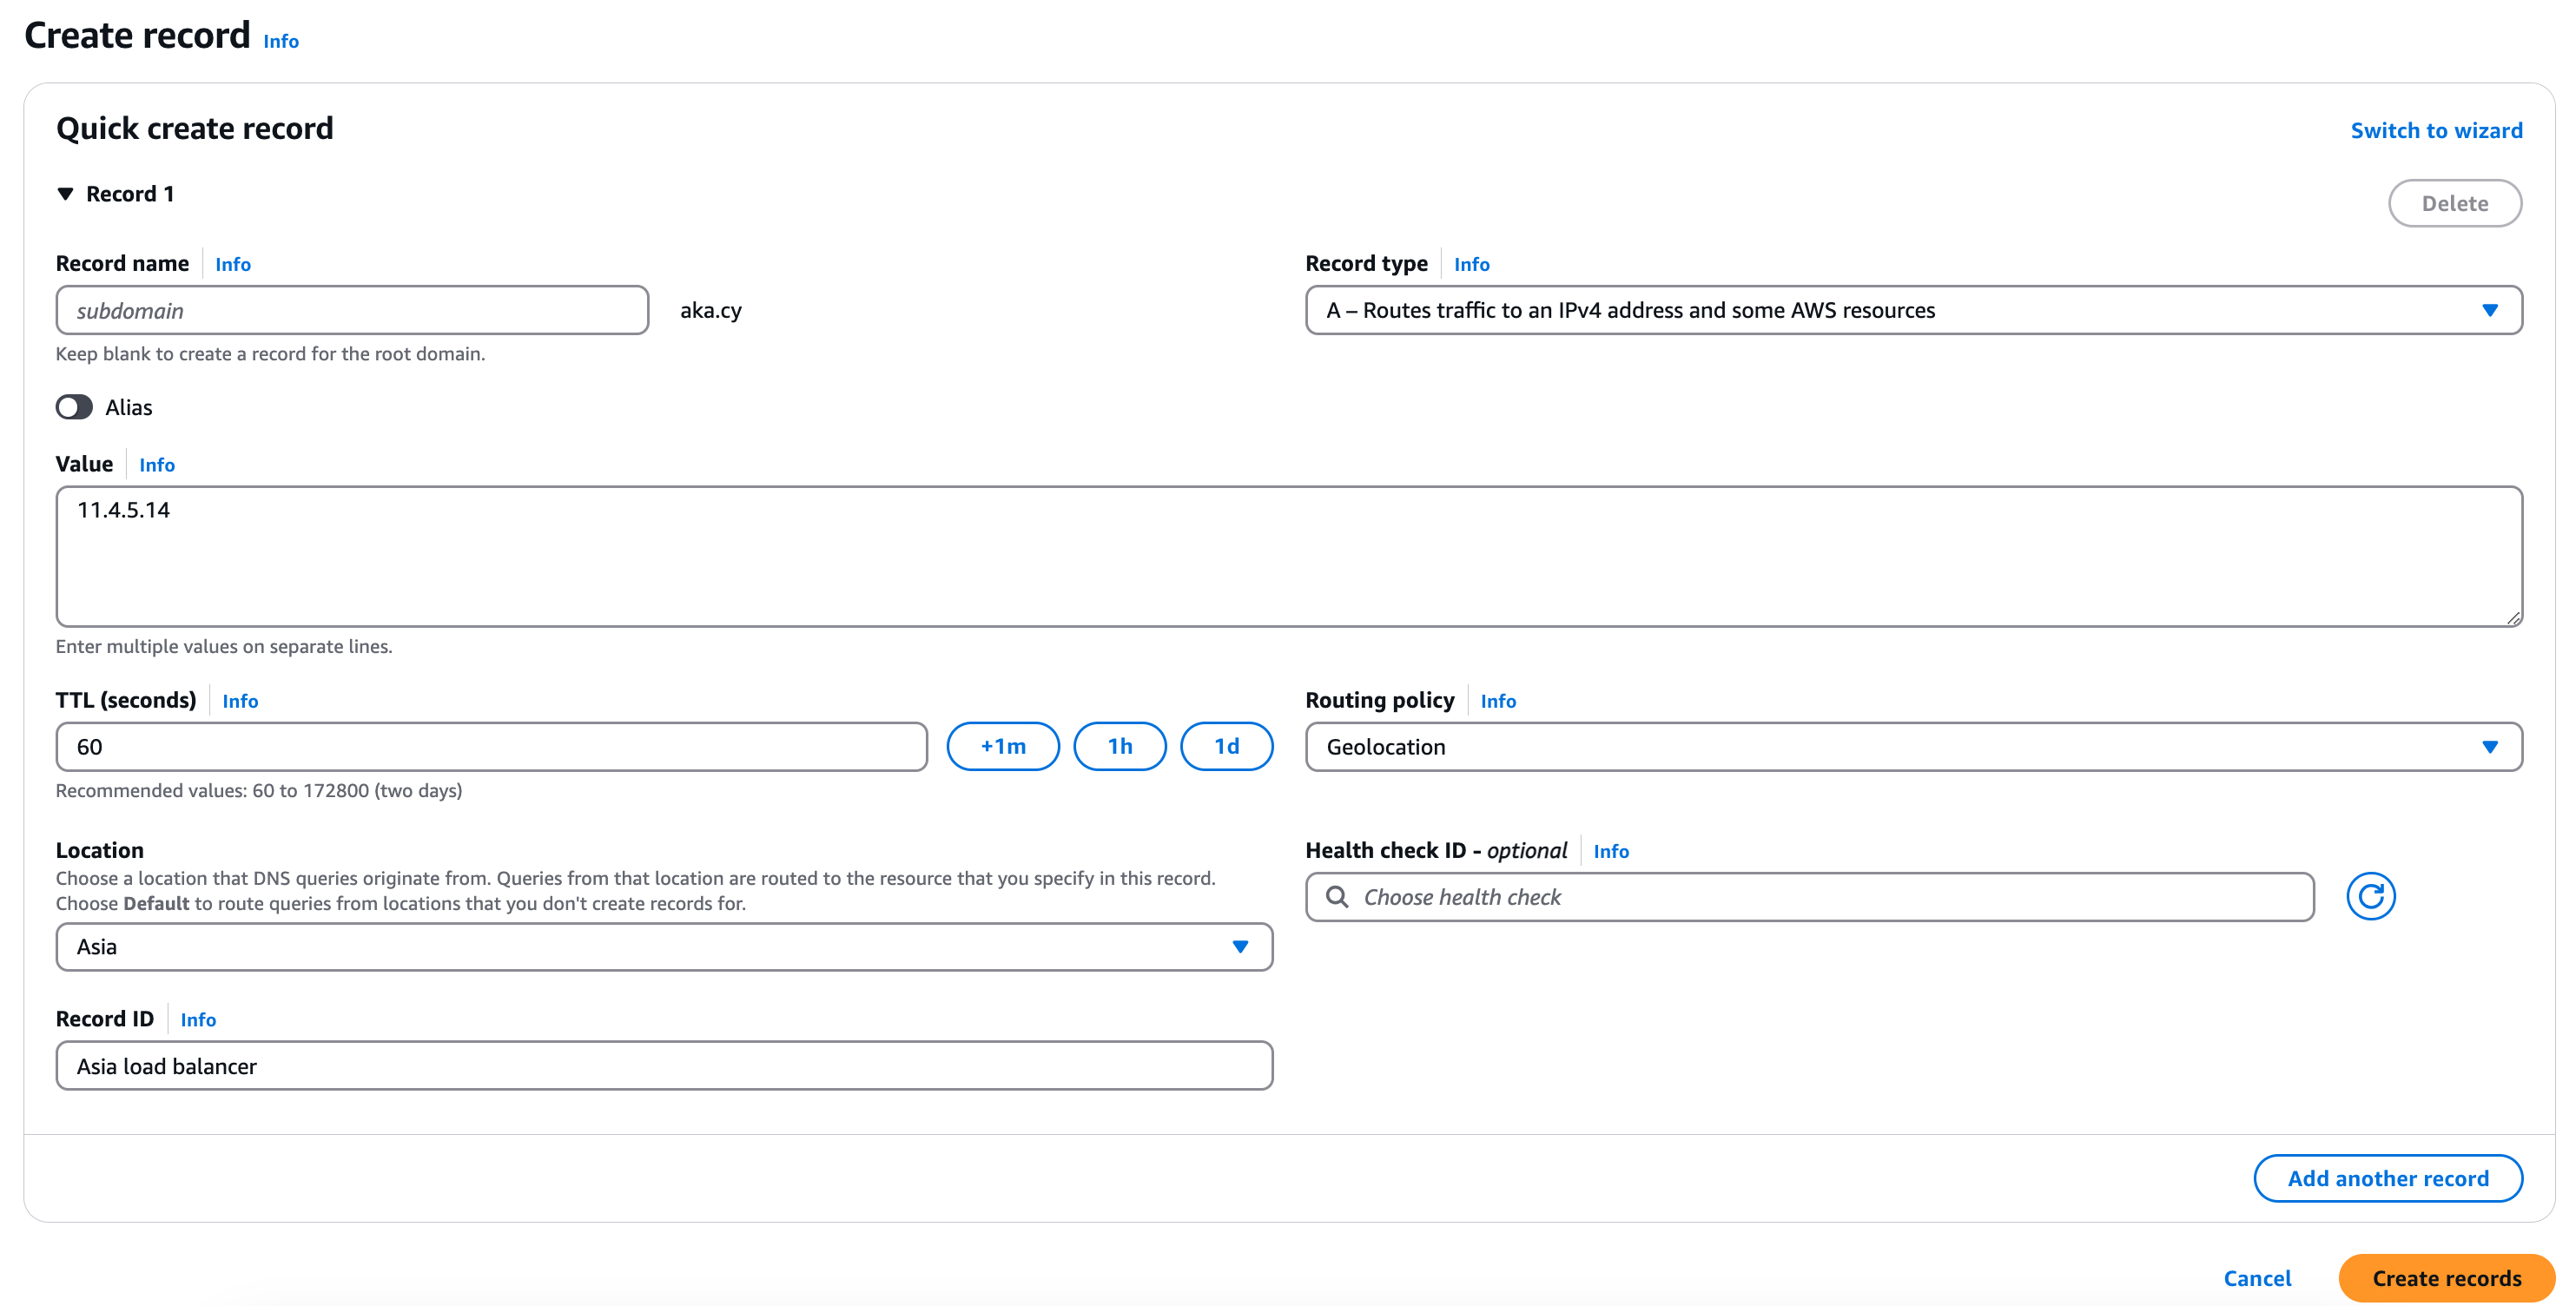
Below is a demonstration how to create DNS record based on Geolocation on AWS Route53. The process should be similar in other DNS service provider. You need to create DNS record for each of your load balancer.
Synchronize files for blog between different balancer.
Before start, let us call server(action runner) who compile static files and is responsible for SSL certificate application as source server, call server function as balancer as mirror server
Synchronize blog static files
- Go to syncthing webpage on source server.
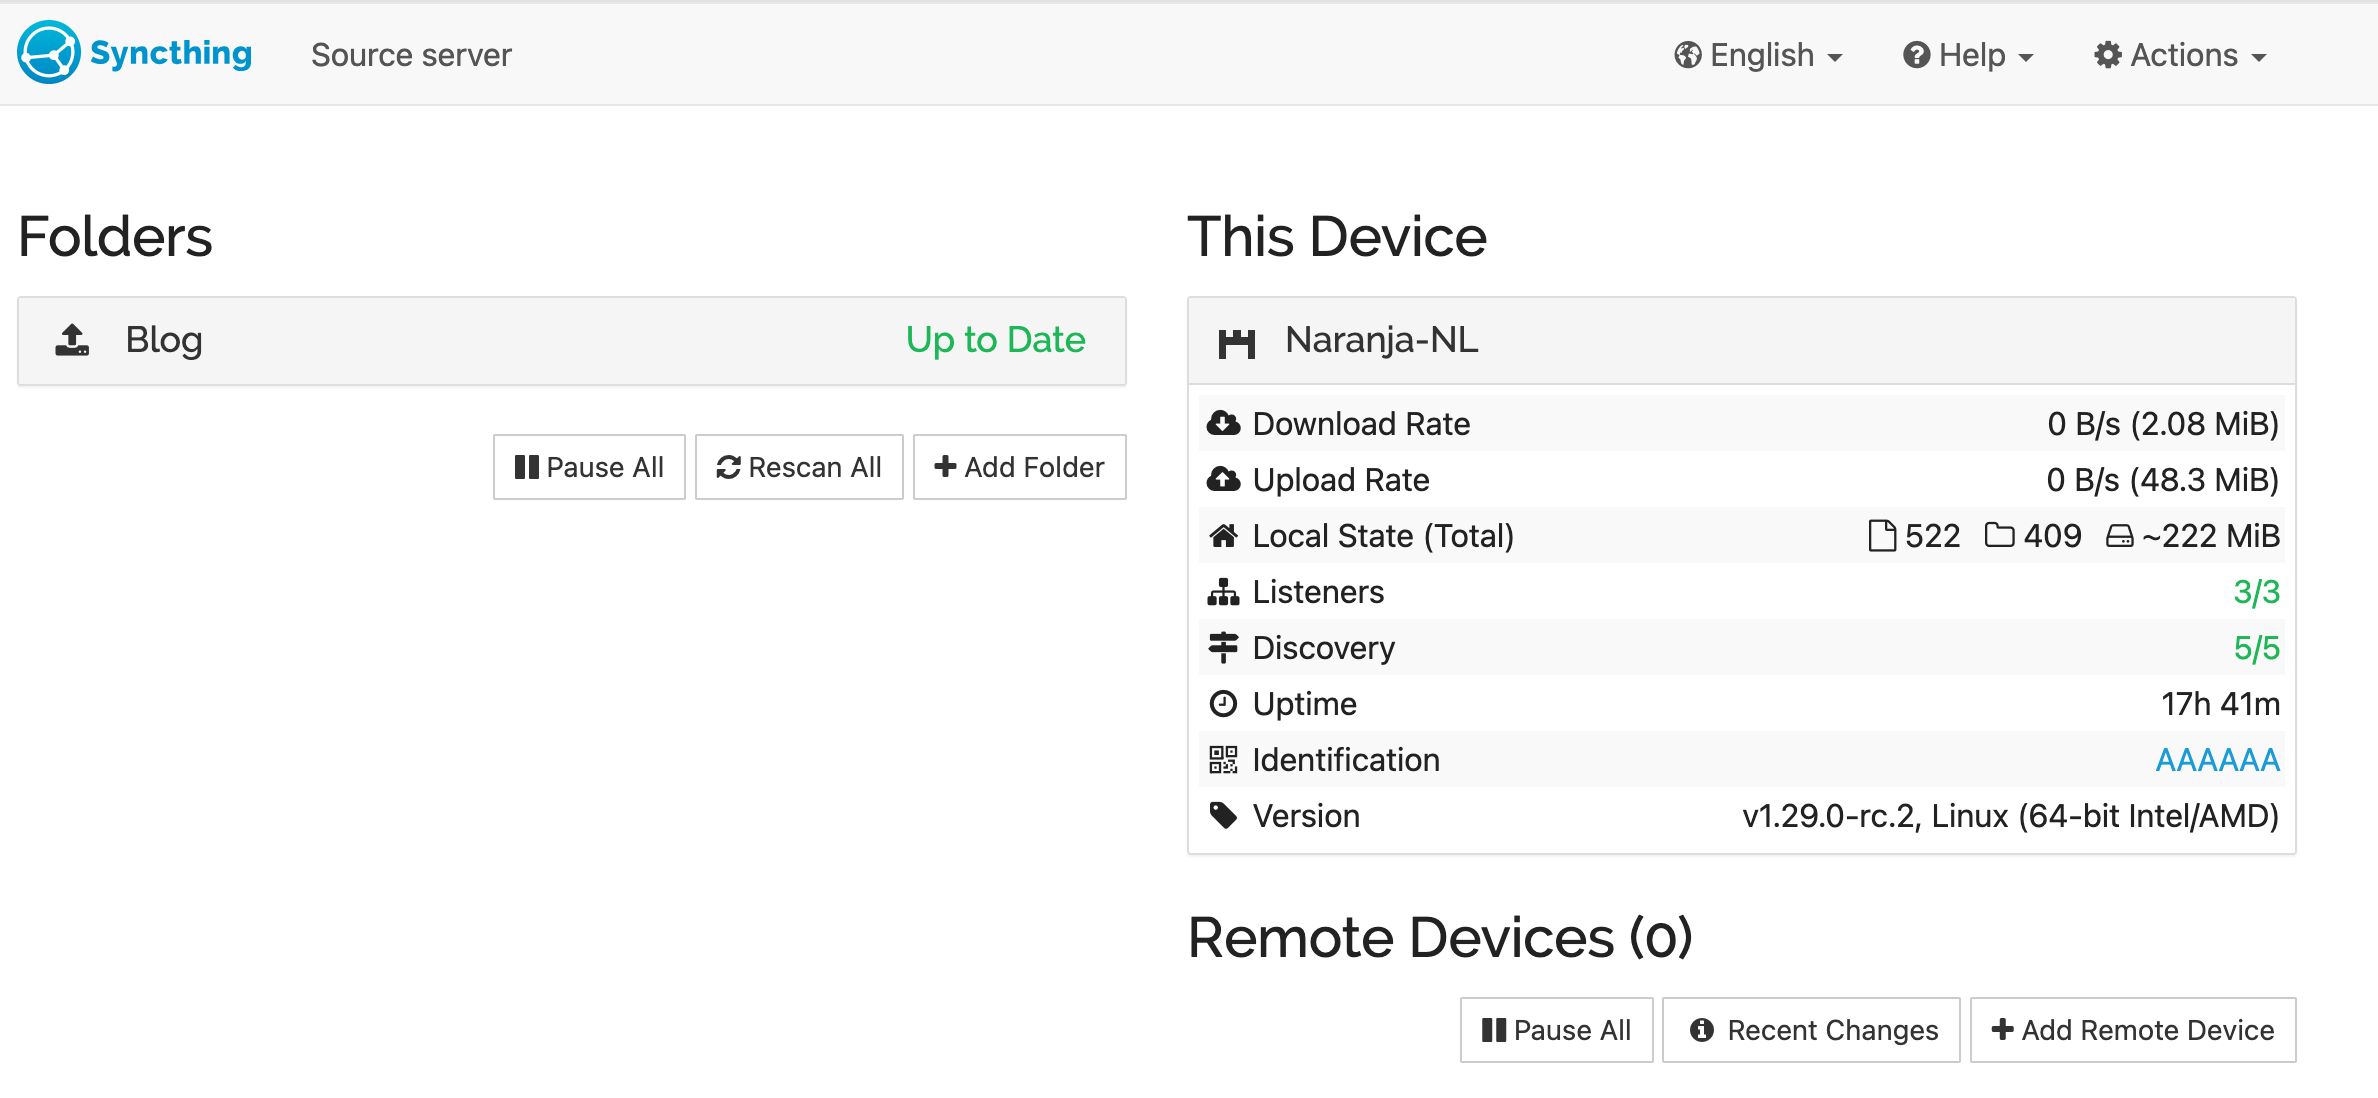
Click
Add Remote Device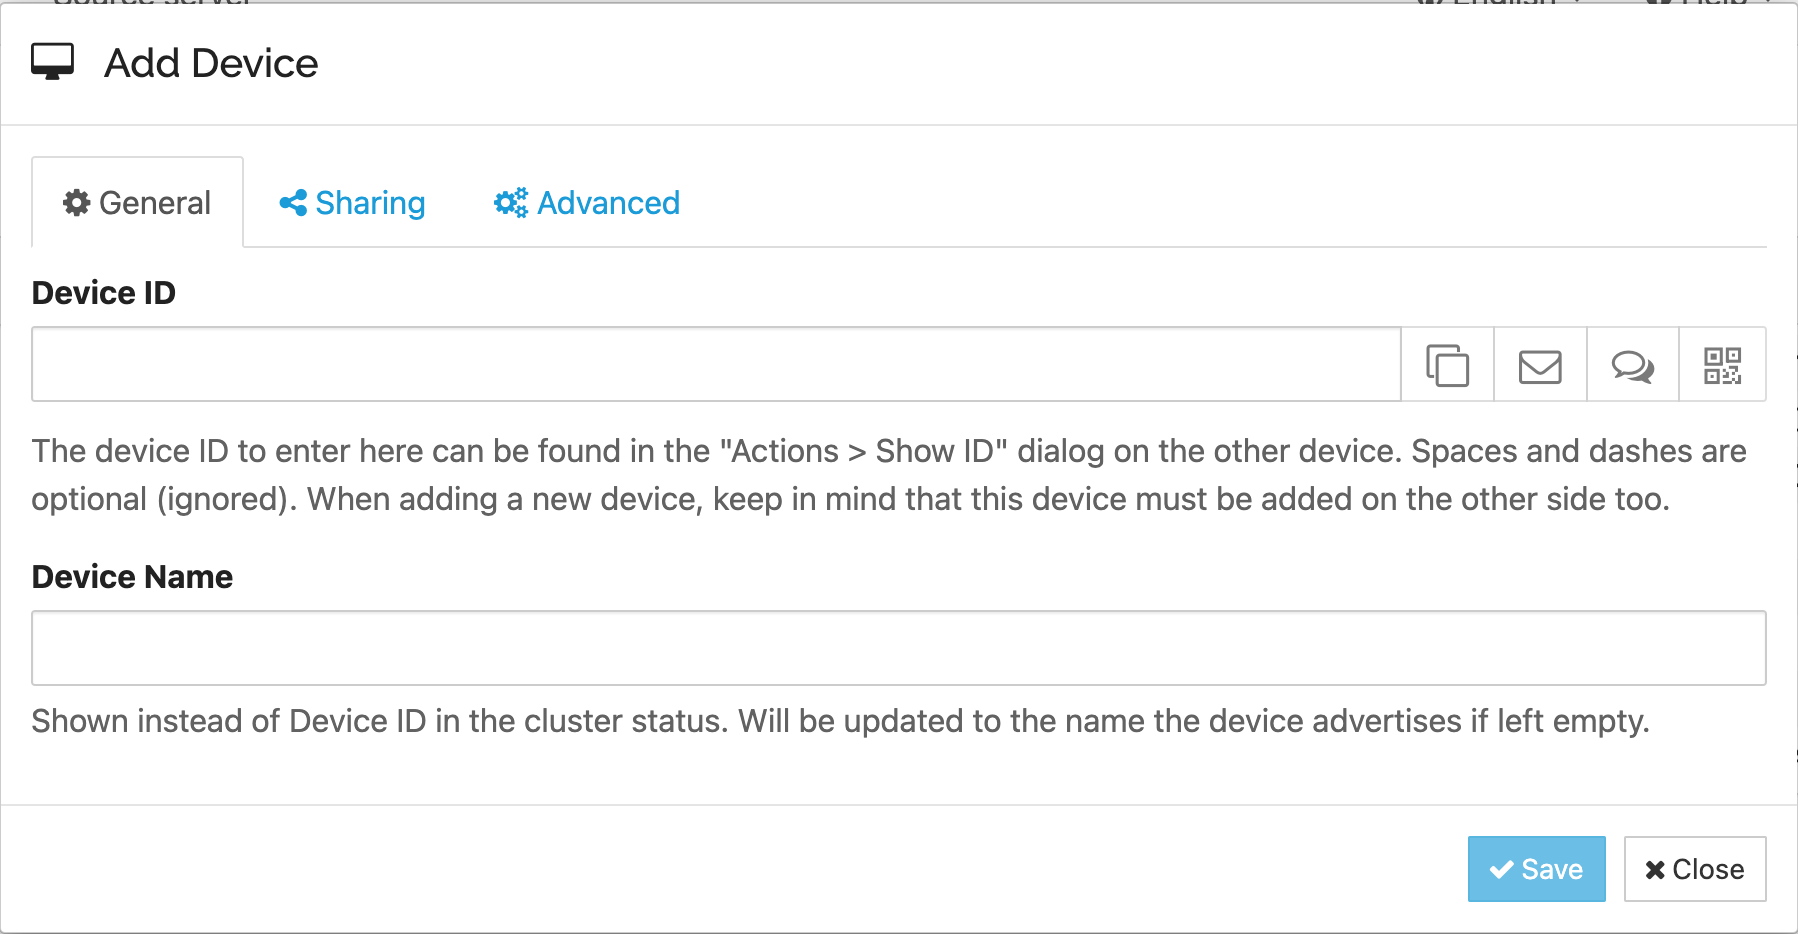
Click
Add Folder. Input folder label and path info. Also click your mirror server in Sharing subpage. No file versioning is needed for me. No Ignore Patterns.
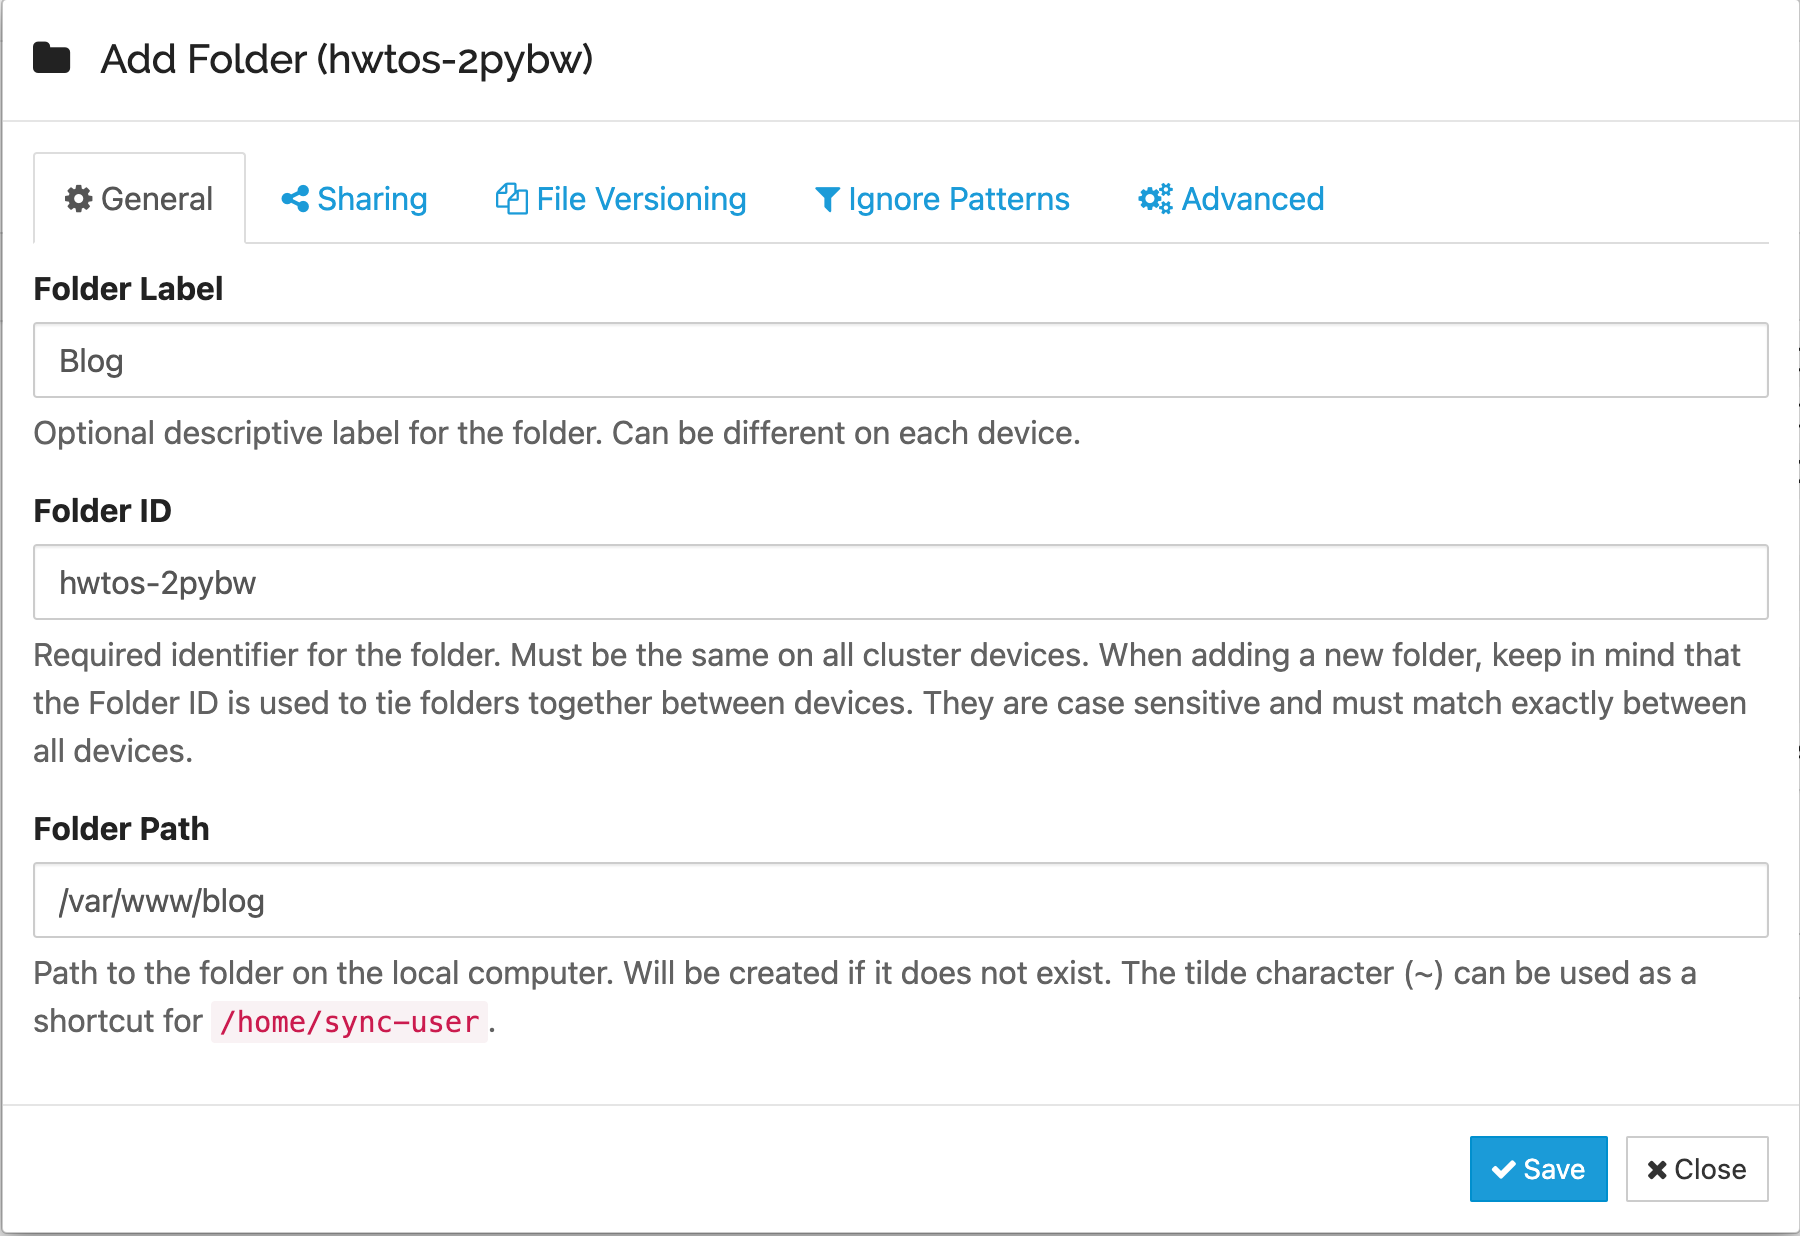
Choose Send Only in Advanced subpage. There is no need to Sync owner ship and permissions as it is easy to crush if enabled these features. Please giver proper permissions to the folder you want share by making it readable and writable to sync-user. For me, I just make it 777 via command chmod 777 /var/www/blog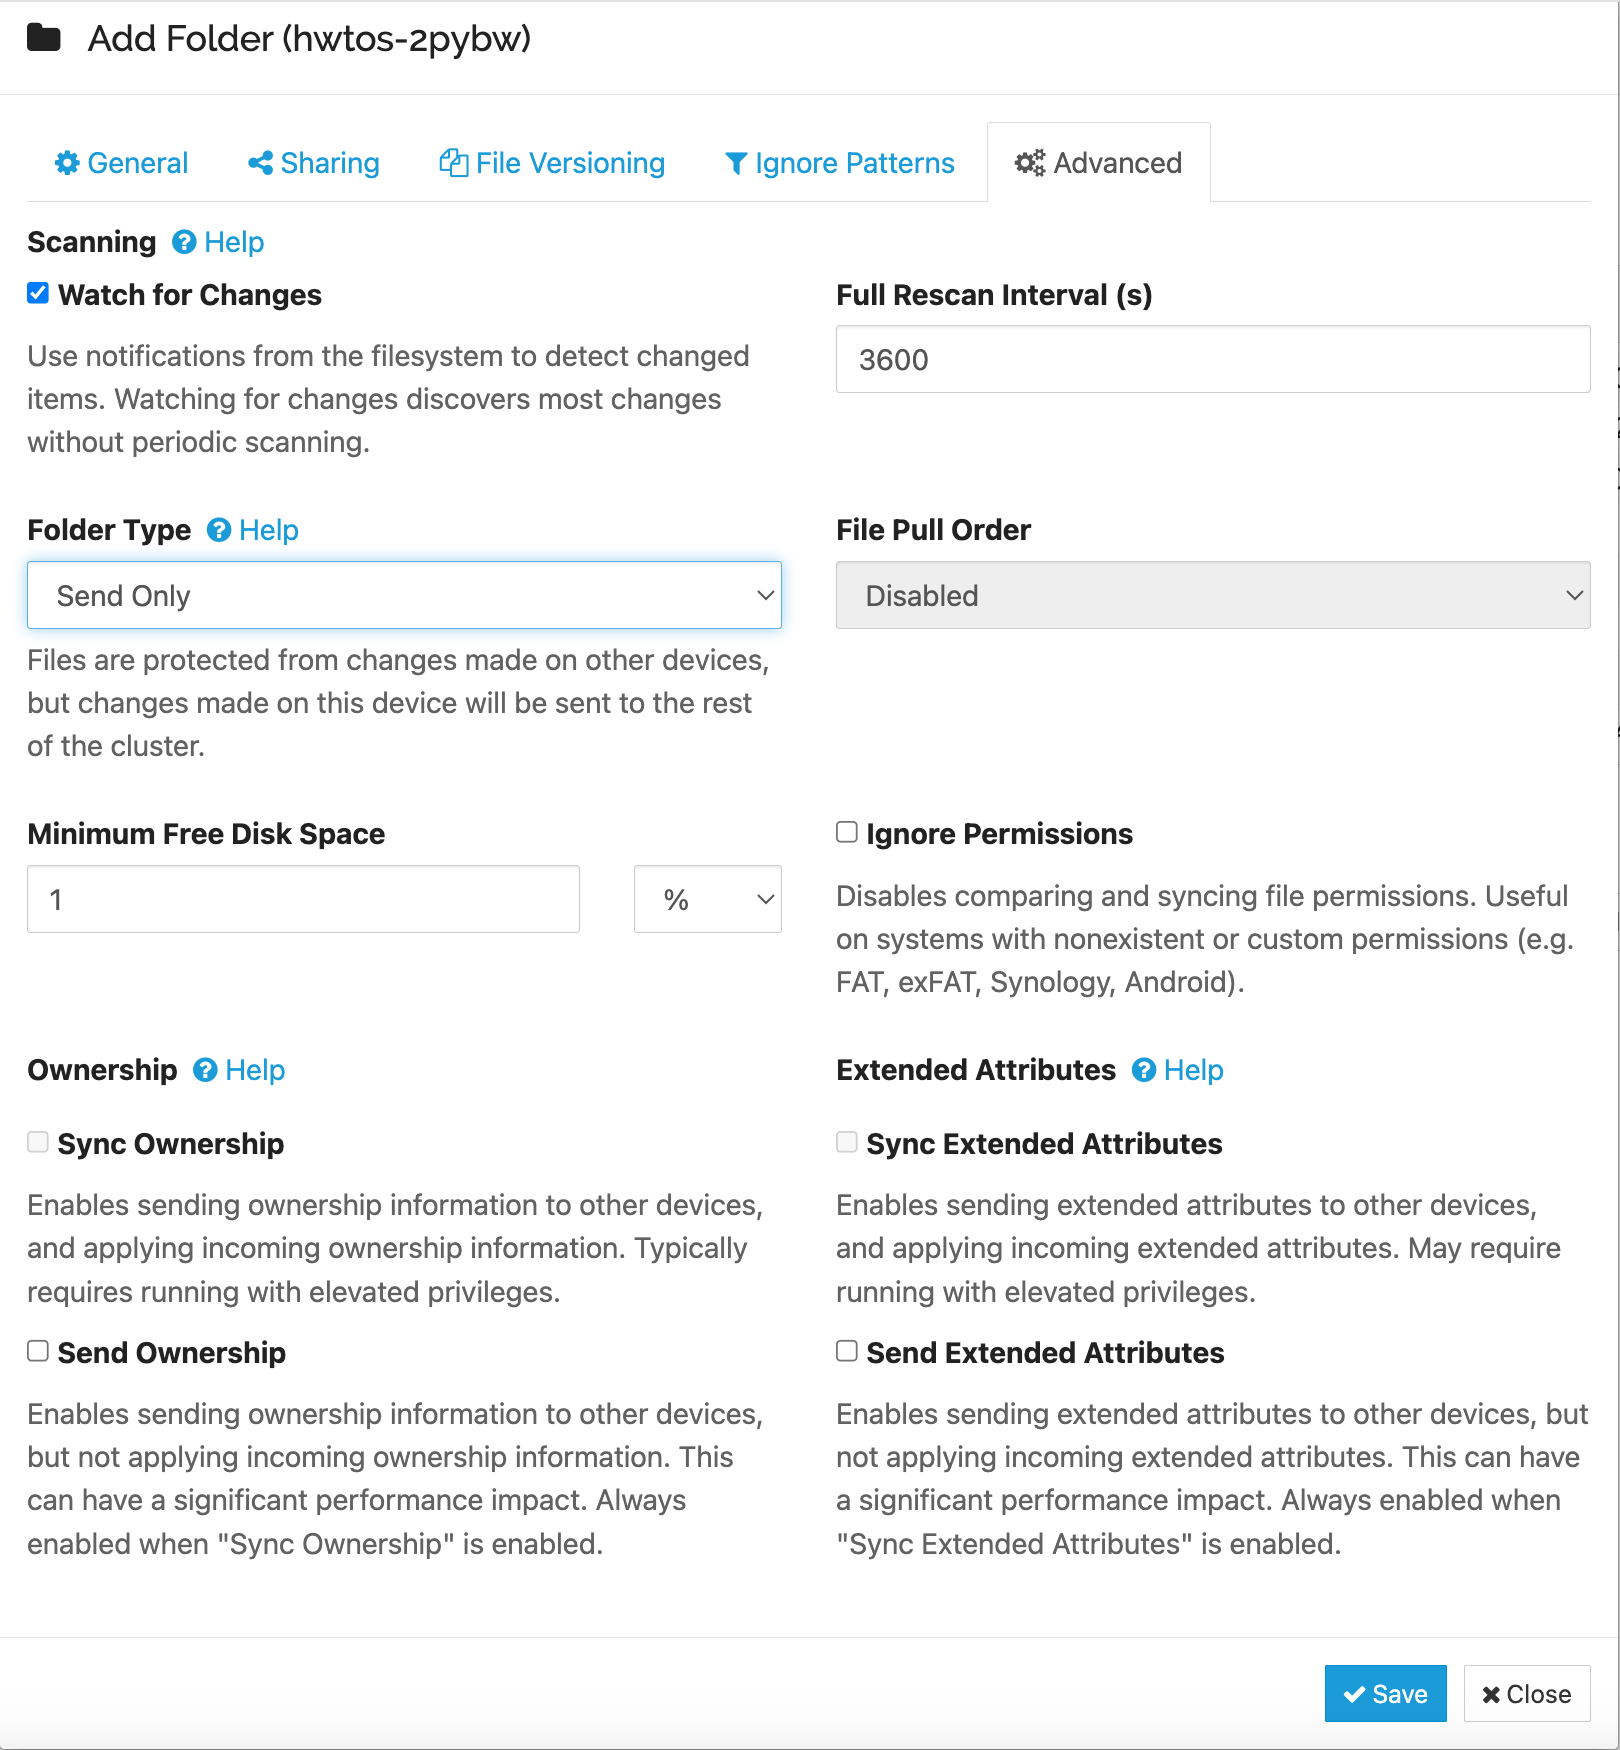
- Then go to Syncthing webpage of your mirror server, where you will receive an invitation and just accept it. The settings are similar to before, the only difference is that you need to choose receive only in Advanced settings. Also do not forget to set folder permissions for sync-user in your mirror server.
Synchronize SSL certificate
The process is similar to synchronize blog static files. The difference is that you not only need to synchronize SSL certificates, but also need to synchronize SSL symbolic links.
These two folder path on source server are /etc/letsencrypt/archive/aka.cy and /etc/letsencrypt/live/aka.cy, so I create such folder in mirror folder to receive SSL certificate: /home/sync-user/SSL/archive/aka.cy and /home/sync-user/SSL/live/aka.cy. The reason why I do this is to avoid permissions problem in /etc/letsencrypt/. Made these folder readable and writable to sync-user, and readable to www-date, so just make them 777 as well.
Then you can configure Nginx on your mirror server, remember to change SSL certificate path in your configuration.