How to deploy a server monitor dashboard
Why we need Nezha or what can Nezha do for us?
We can monitor multiple server simultaneously if we have Nezha dashboard, in which we are able to see the CPU, memory, swap, network, trafic, disk info and uptime of our server. Moreover, we have the ability to be informed if there is something wrong just like the network error which make server offline.
How to deploy
For server
Create and get the github app client id and secret key
First of all, go to https://github.com/settings/developers, create a new app and enter information like below.
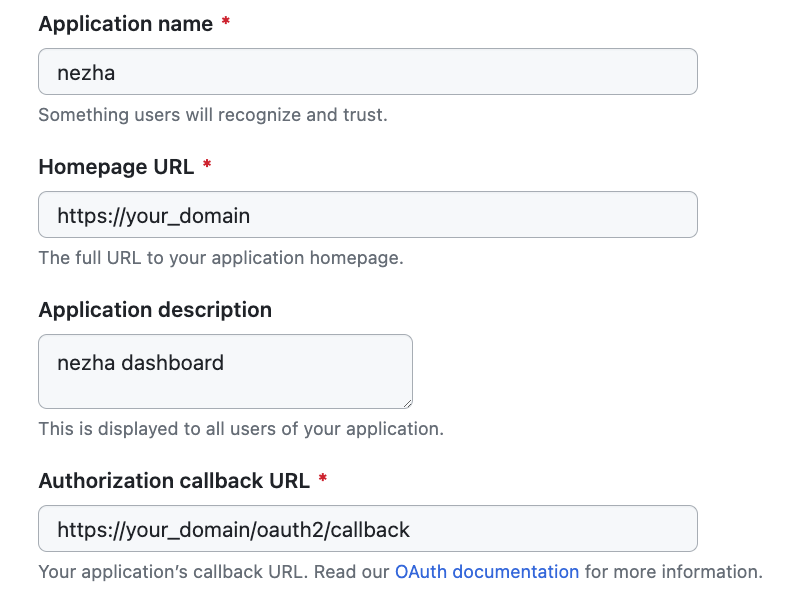
Then click Register application, click Generate a new client secret to get the secret key. Remember these information as the secret key won’t appear twice.
Install dashboard on server
Connect to your server using ssh.
1 | curl -L https://raw.githubusercontent.com/naiba/nezha/master/script/install.sh -o nezha.sh && chmod +x nezha.sh && sudo ./nezha.sh |
Then enter the information following the prompt.
1 | vim /etc/nginx/sites-available/00-default-ssl.conf |
1 | server |
PS: I did not write the nginx config for terminal as I do not want to use web shell in Nezha dashboard for safety considering.
1 | # sign up ssl certificate for nezha dashboard |
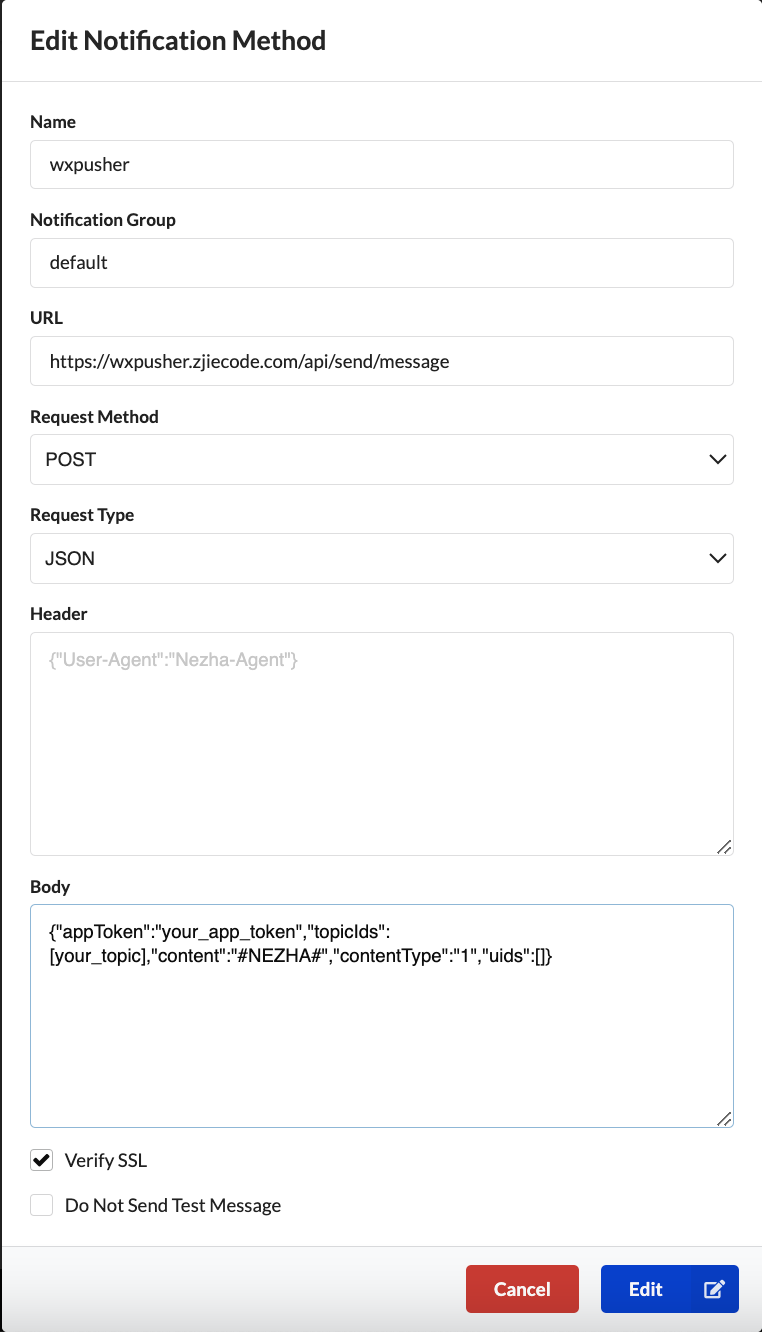
Setup notification
Before setup, you need to register a wxpusher account following the official instruction and bind it with your wechat account.
Go to admin, click notifications, add a notification method.
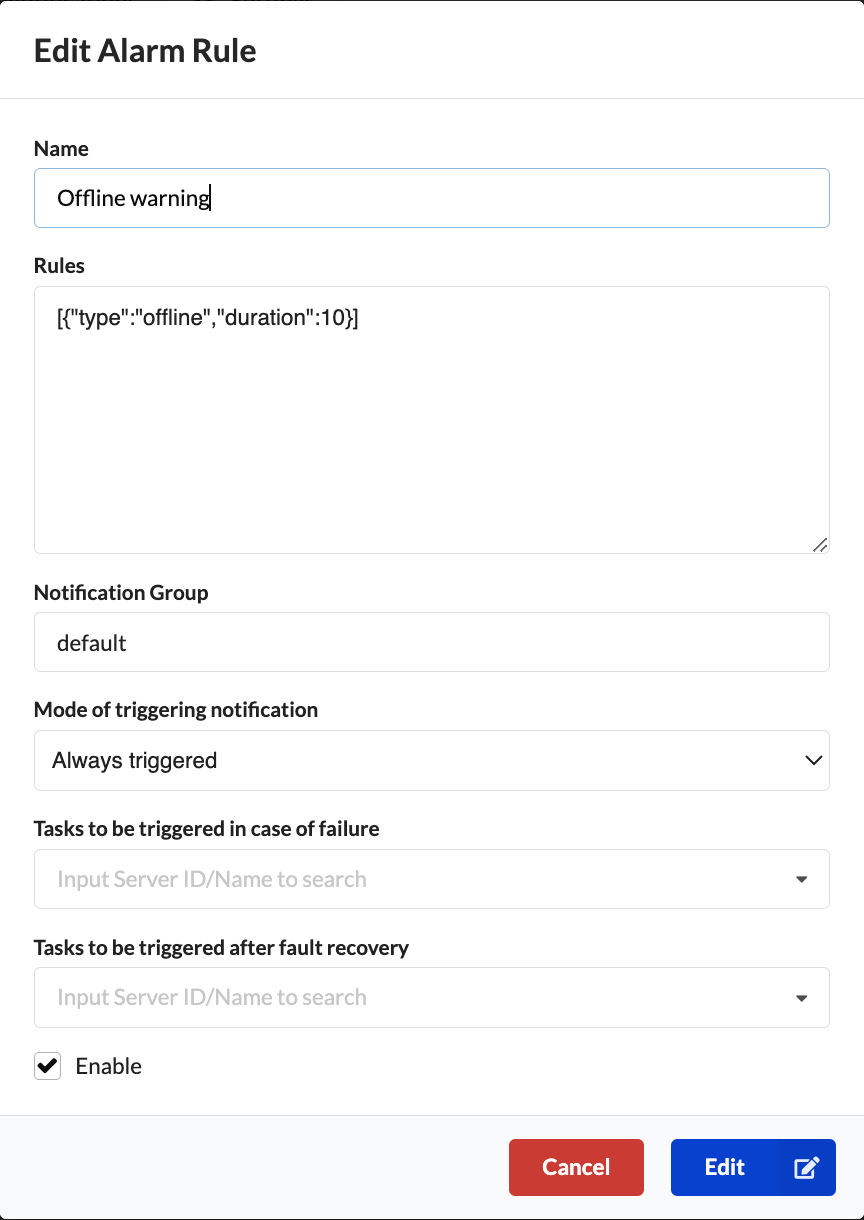
Next, click add notification rule.
Client connection
For Linux
I did not know why I can not install the agent via command provided by the nezha dashboard. So I need to download the script and install it manually.
1 | curl -L https://raw.githubusercontent.com/naiba/nezha/master/script/install.sh -o nezha.sh && chmod +x nezha.sh && sudo ./nezha.sh |
Then install it manually by choose the number and follow the prompt. The secret key can be found in Nezha management dashboard.
For OpenWrt
1 | # download the agent bin from github release |
1 |
|
1 | chmod +x /etc/init.d/nezha-service |
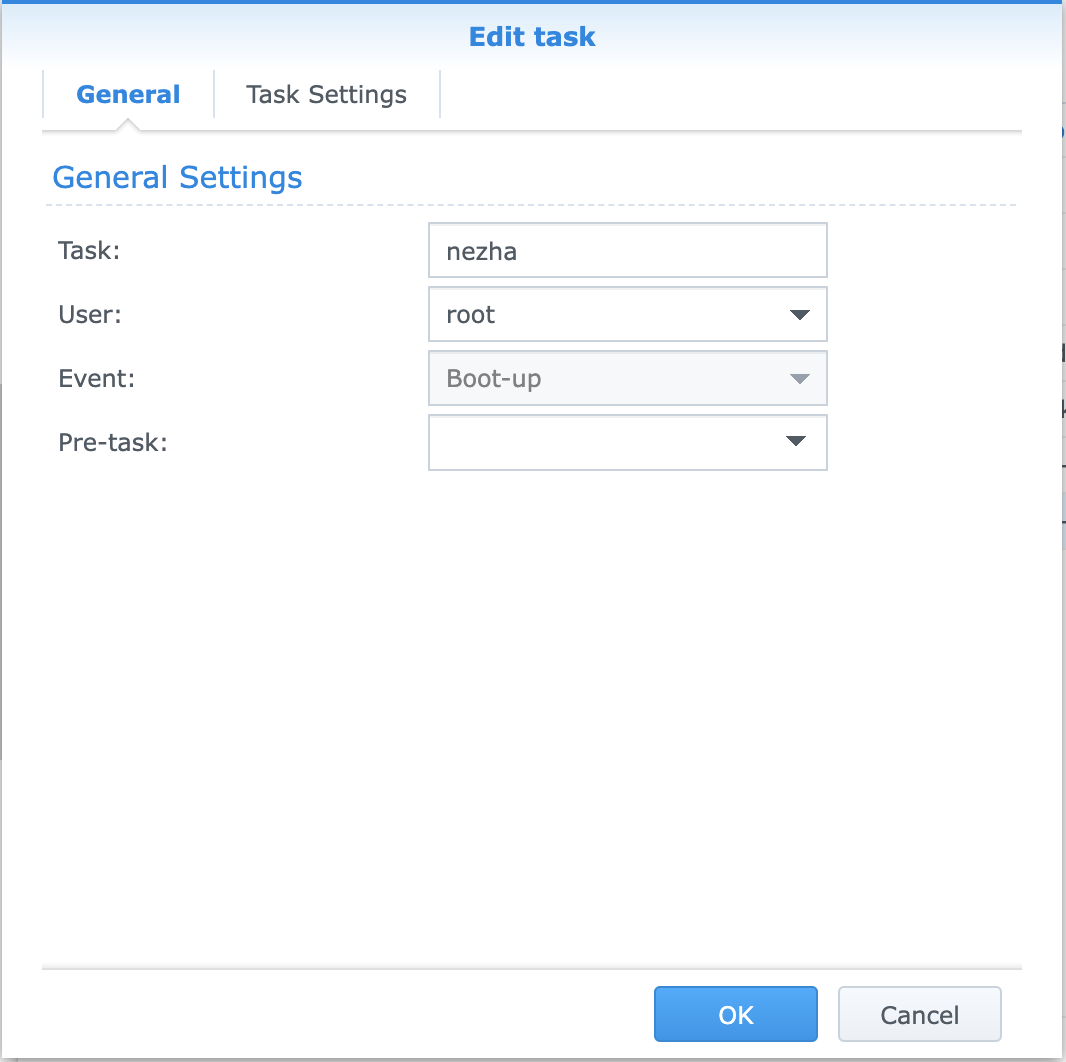
For Synology
1 | cd /root |
Then go to your synology web page.
Control Panel > Task Scheduler > Create > Triggered Task
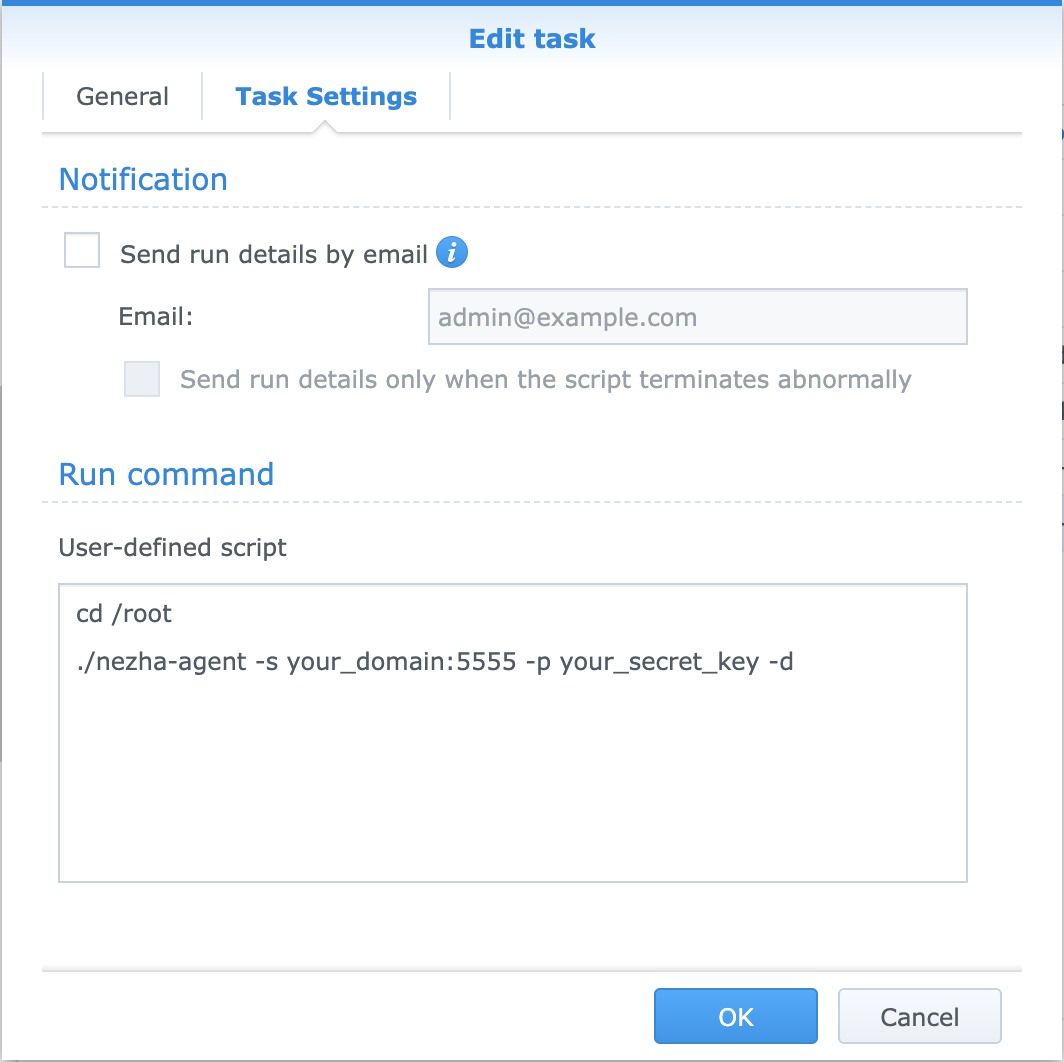
Then check this task and click run.
For Windows 10
Download nssm software from https://nssm.cc/ci/nssm-2.24-101-g897c7ad.zip, nezha agent for windows from https://github.com/nezhahq/agent/releases and unzip them.
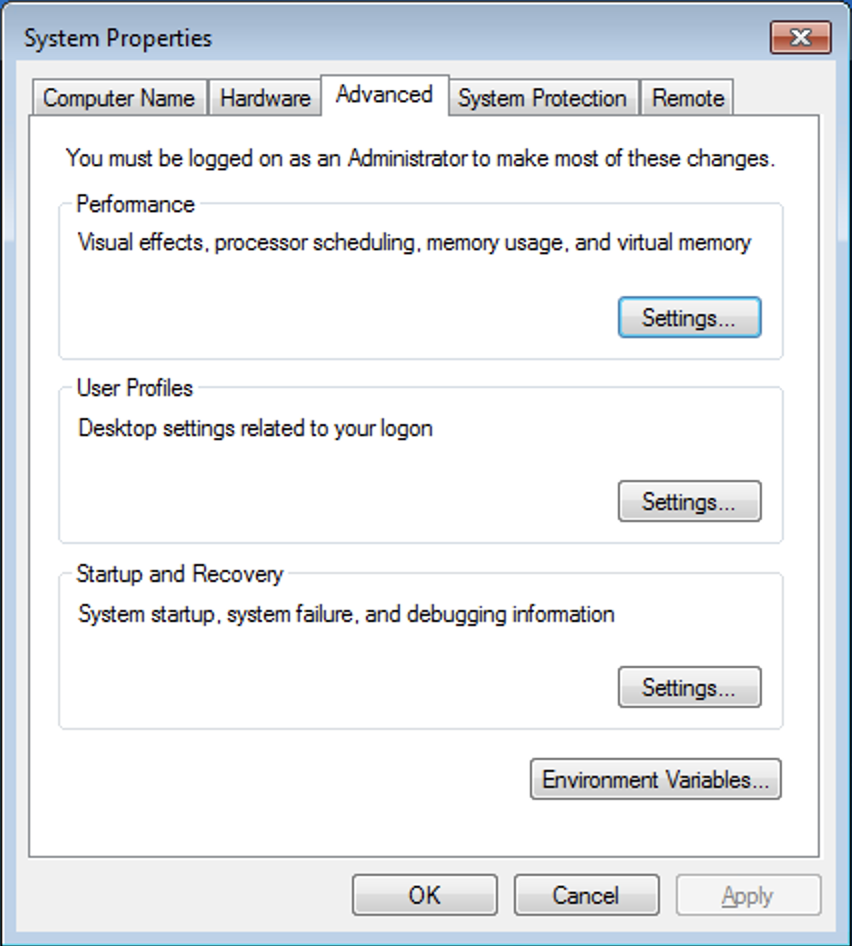
Open cmd, and input sysdm.cpl and enter.
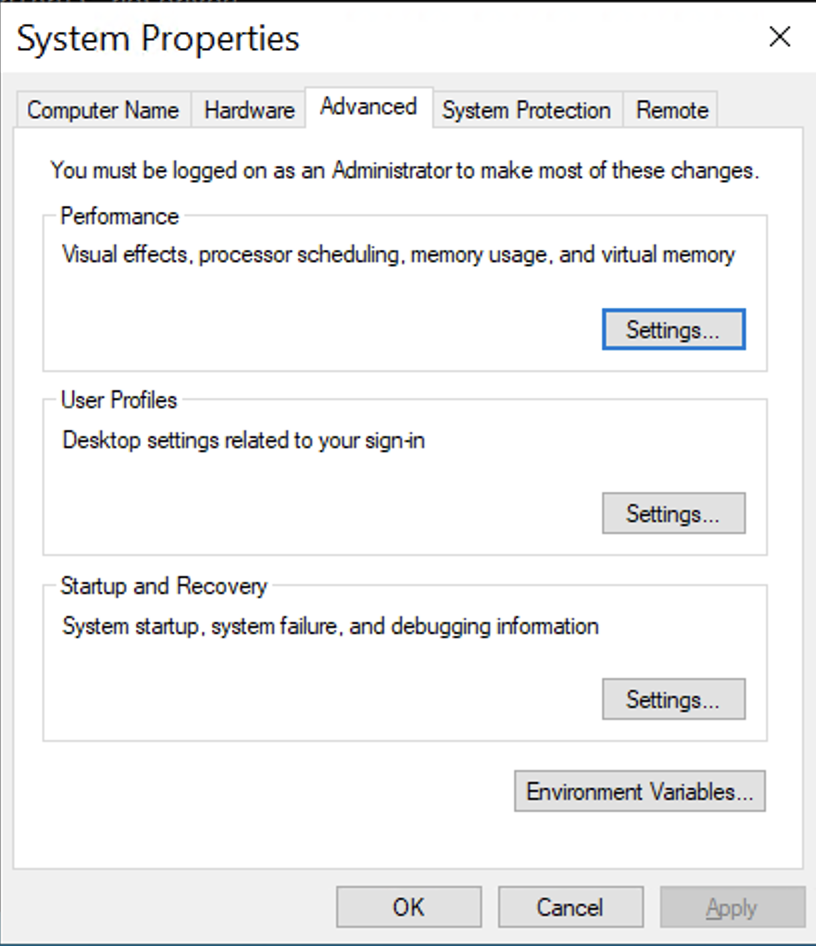
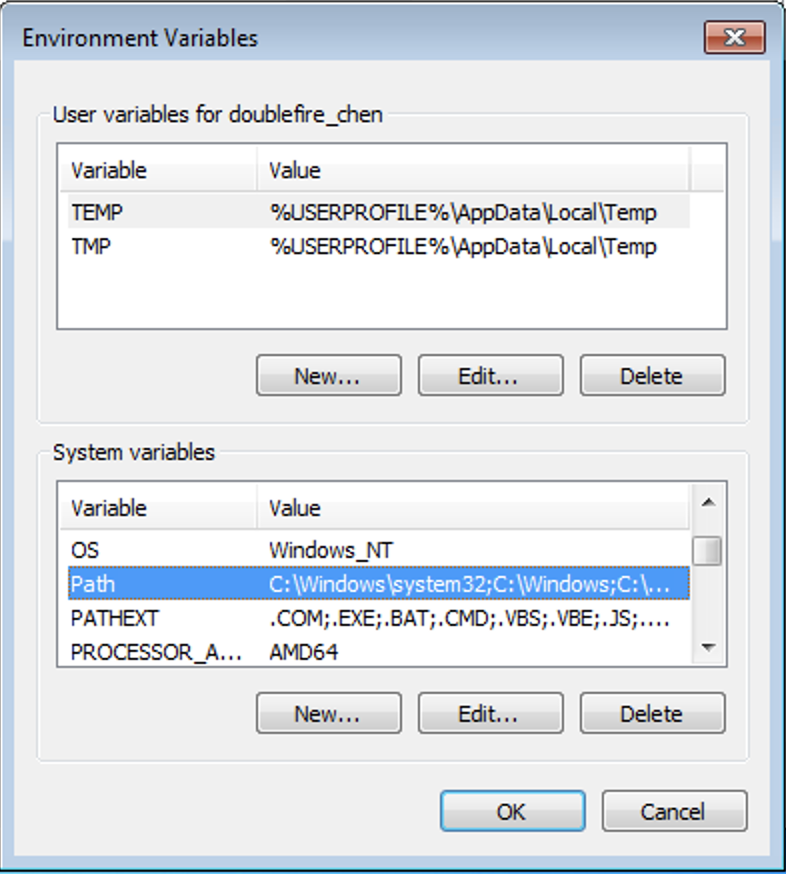
Click environment variables, edit system variables, click path and click edit.
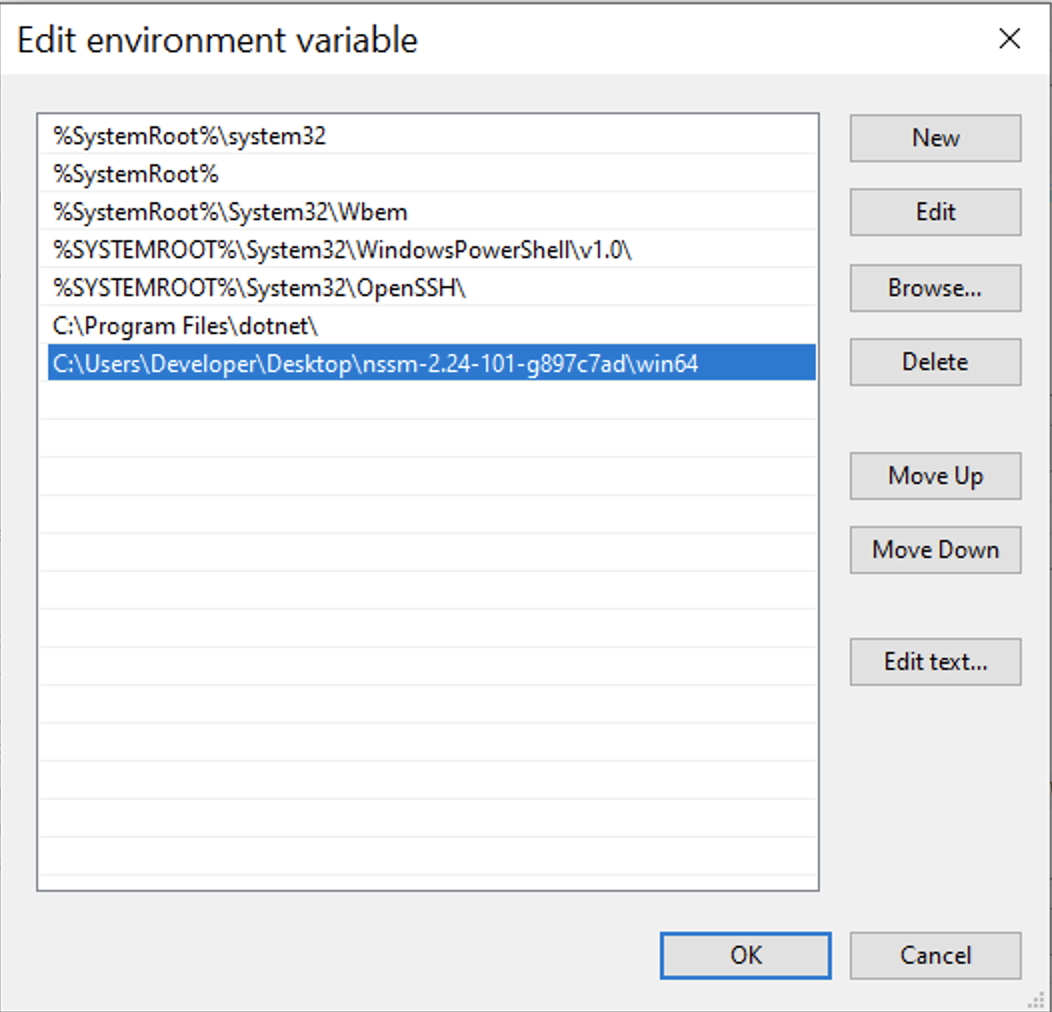
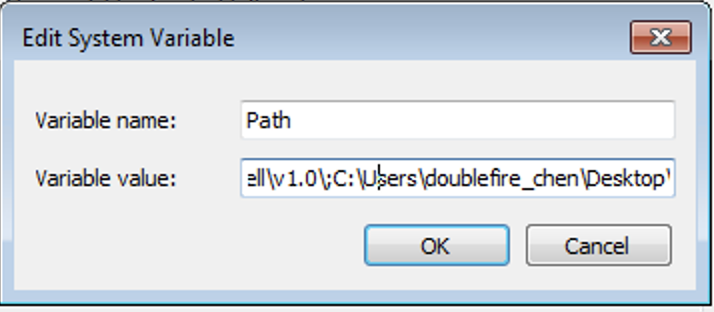
Then add your nssm exe directory to path.
The next move, go to cmd.
1 | nssm install nezha |
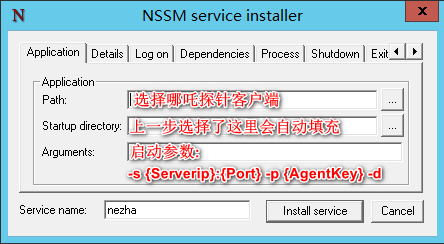
Moving forward, click install servce, and go to cmd. Input nssm start nezha and enter. Use services.msc to check if nezha agent is running correctly.
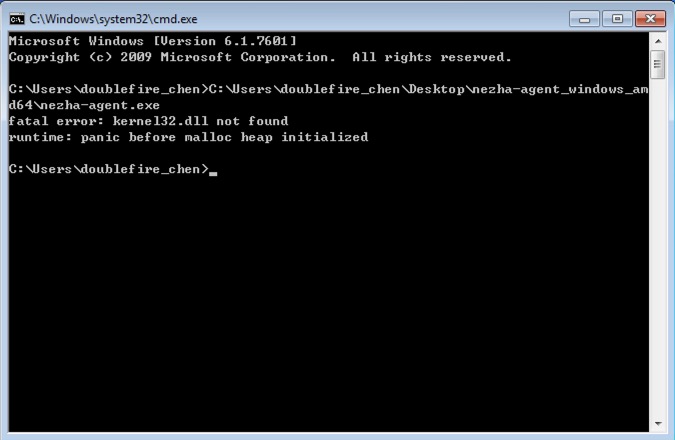
For Windows 7
The process is similar to Windows 10.
Note: If you found a error like below, you can solve this problem refering to https://www.youtube.com/watch?v=Z6IXdv-2inM&list=PL1hfaKfj6i71XBr7f5qmfEb3T67yv1PIv&index=1